
Video Example of ExactFlat on an Automotive Headrest
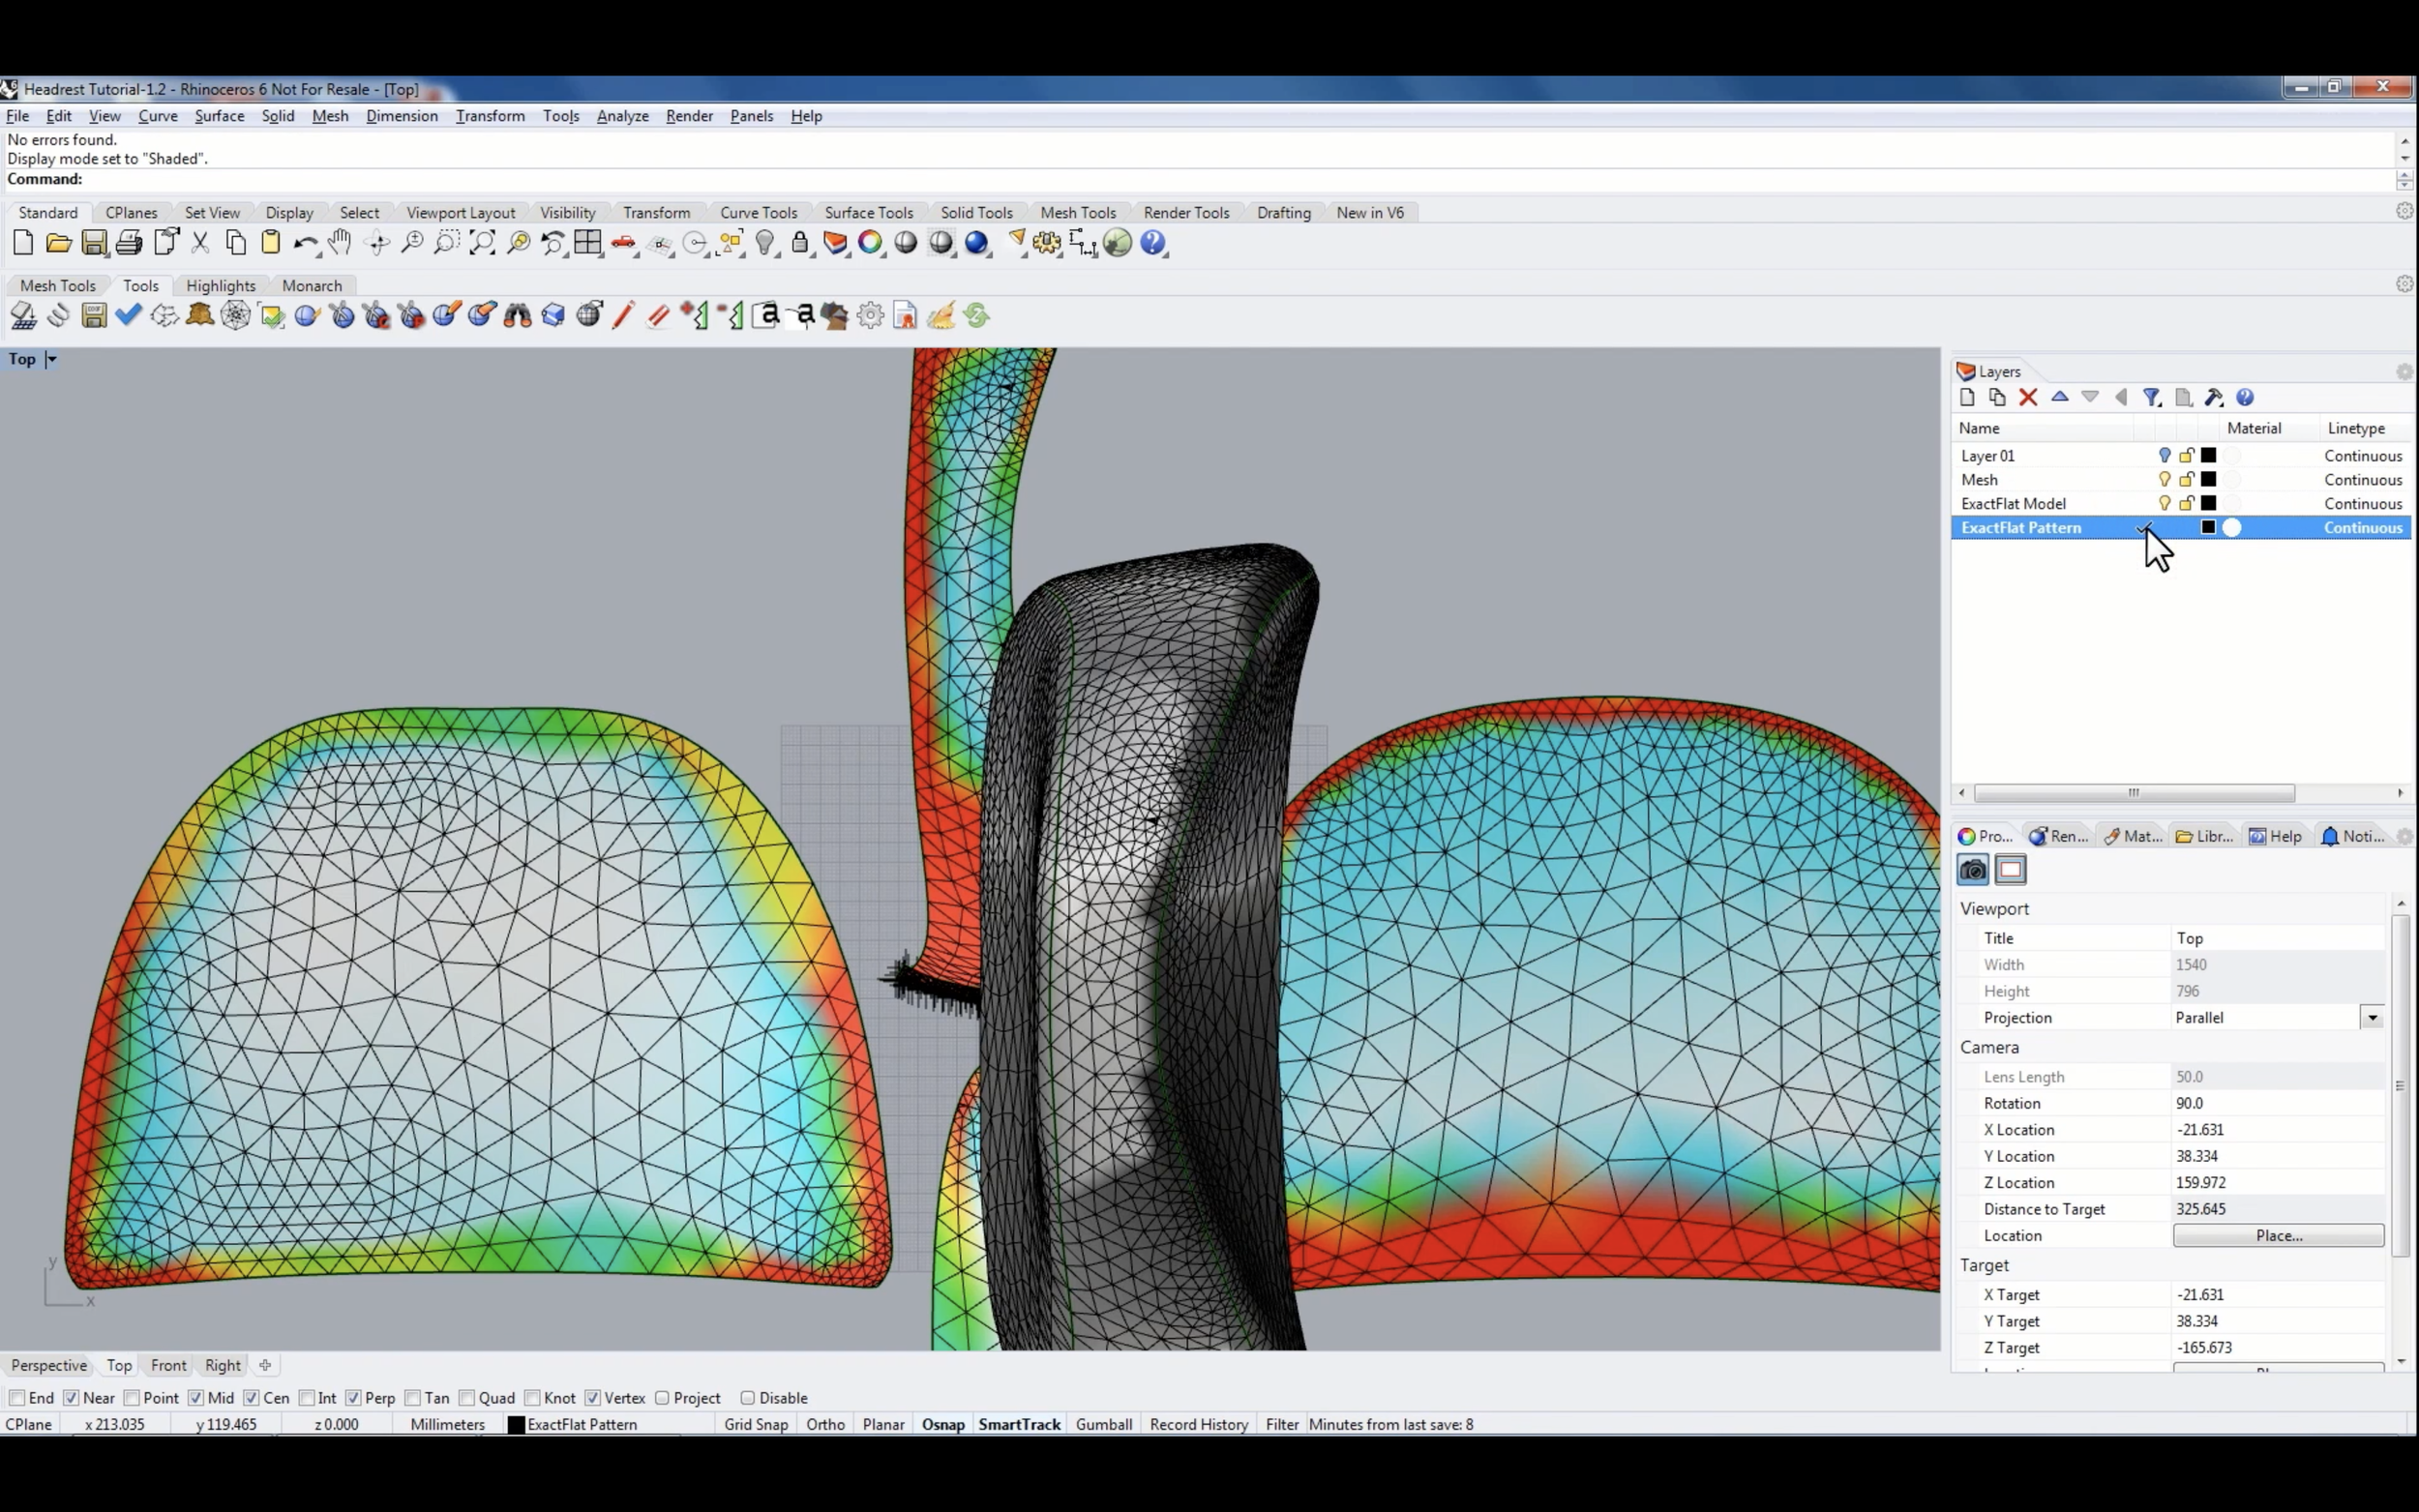
The automotive head rest is an idea product for 3D to 2D digital pattern making. This is because their designs originate in 3D CAD. These CAD files are often well suited to 3D to 2D flattening. Also, if the CAD files are not available, the headrest is small enough that it is a suitable for 3D scanning. 3D scanners are easy enough to use and their output is easy enough to process that it makes digital patterning making from scanned data a fast alternative. Check out the video example below for an overview of the 3D CAD to 2D flat pattern process using ExactFlat for Rhino 3D.

ExactFlat 3d to 2D digital patternign software for automotive Seating and interiors: flattening of an automotive seat bun
The timecode table of contents is shown below: Clink on the time stamps to be taken directly to that section of the video:
0:00 Introduction
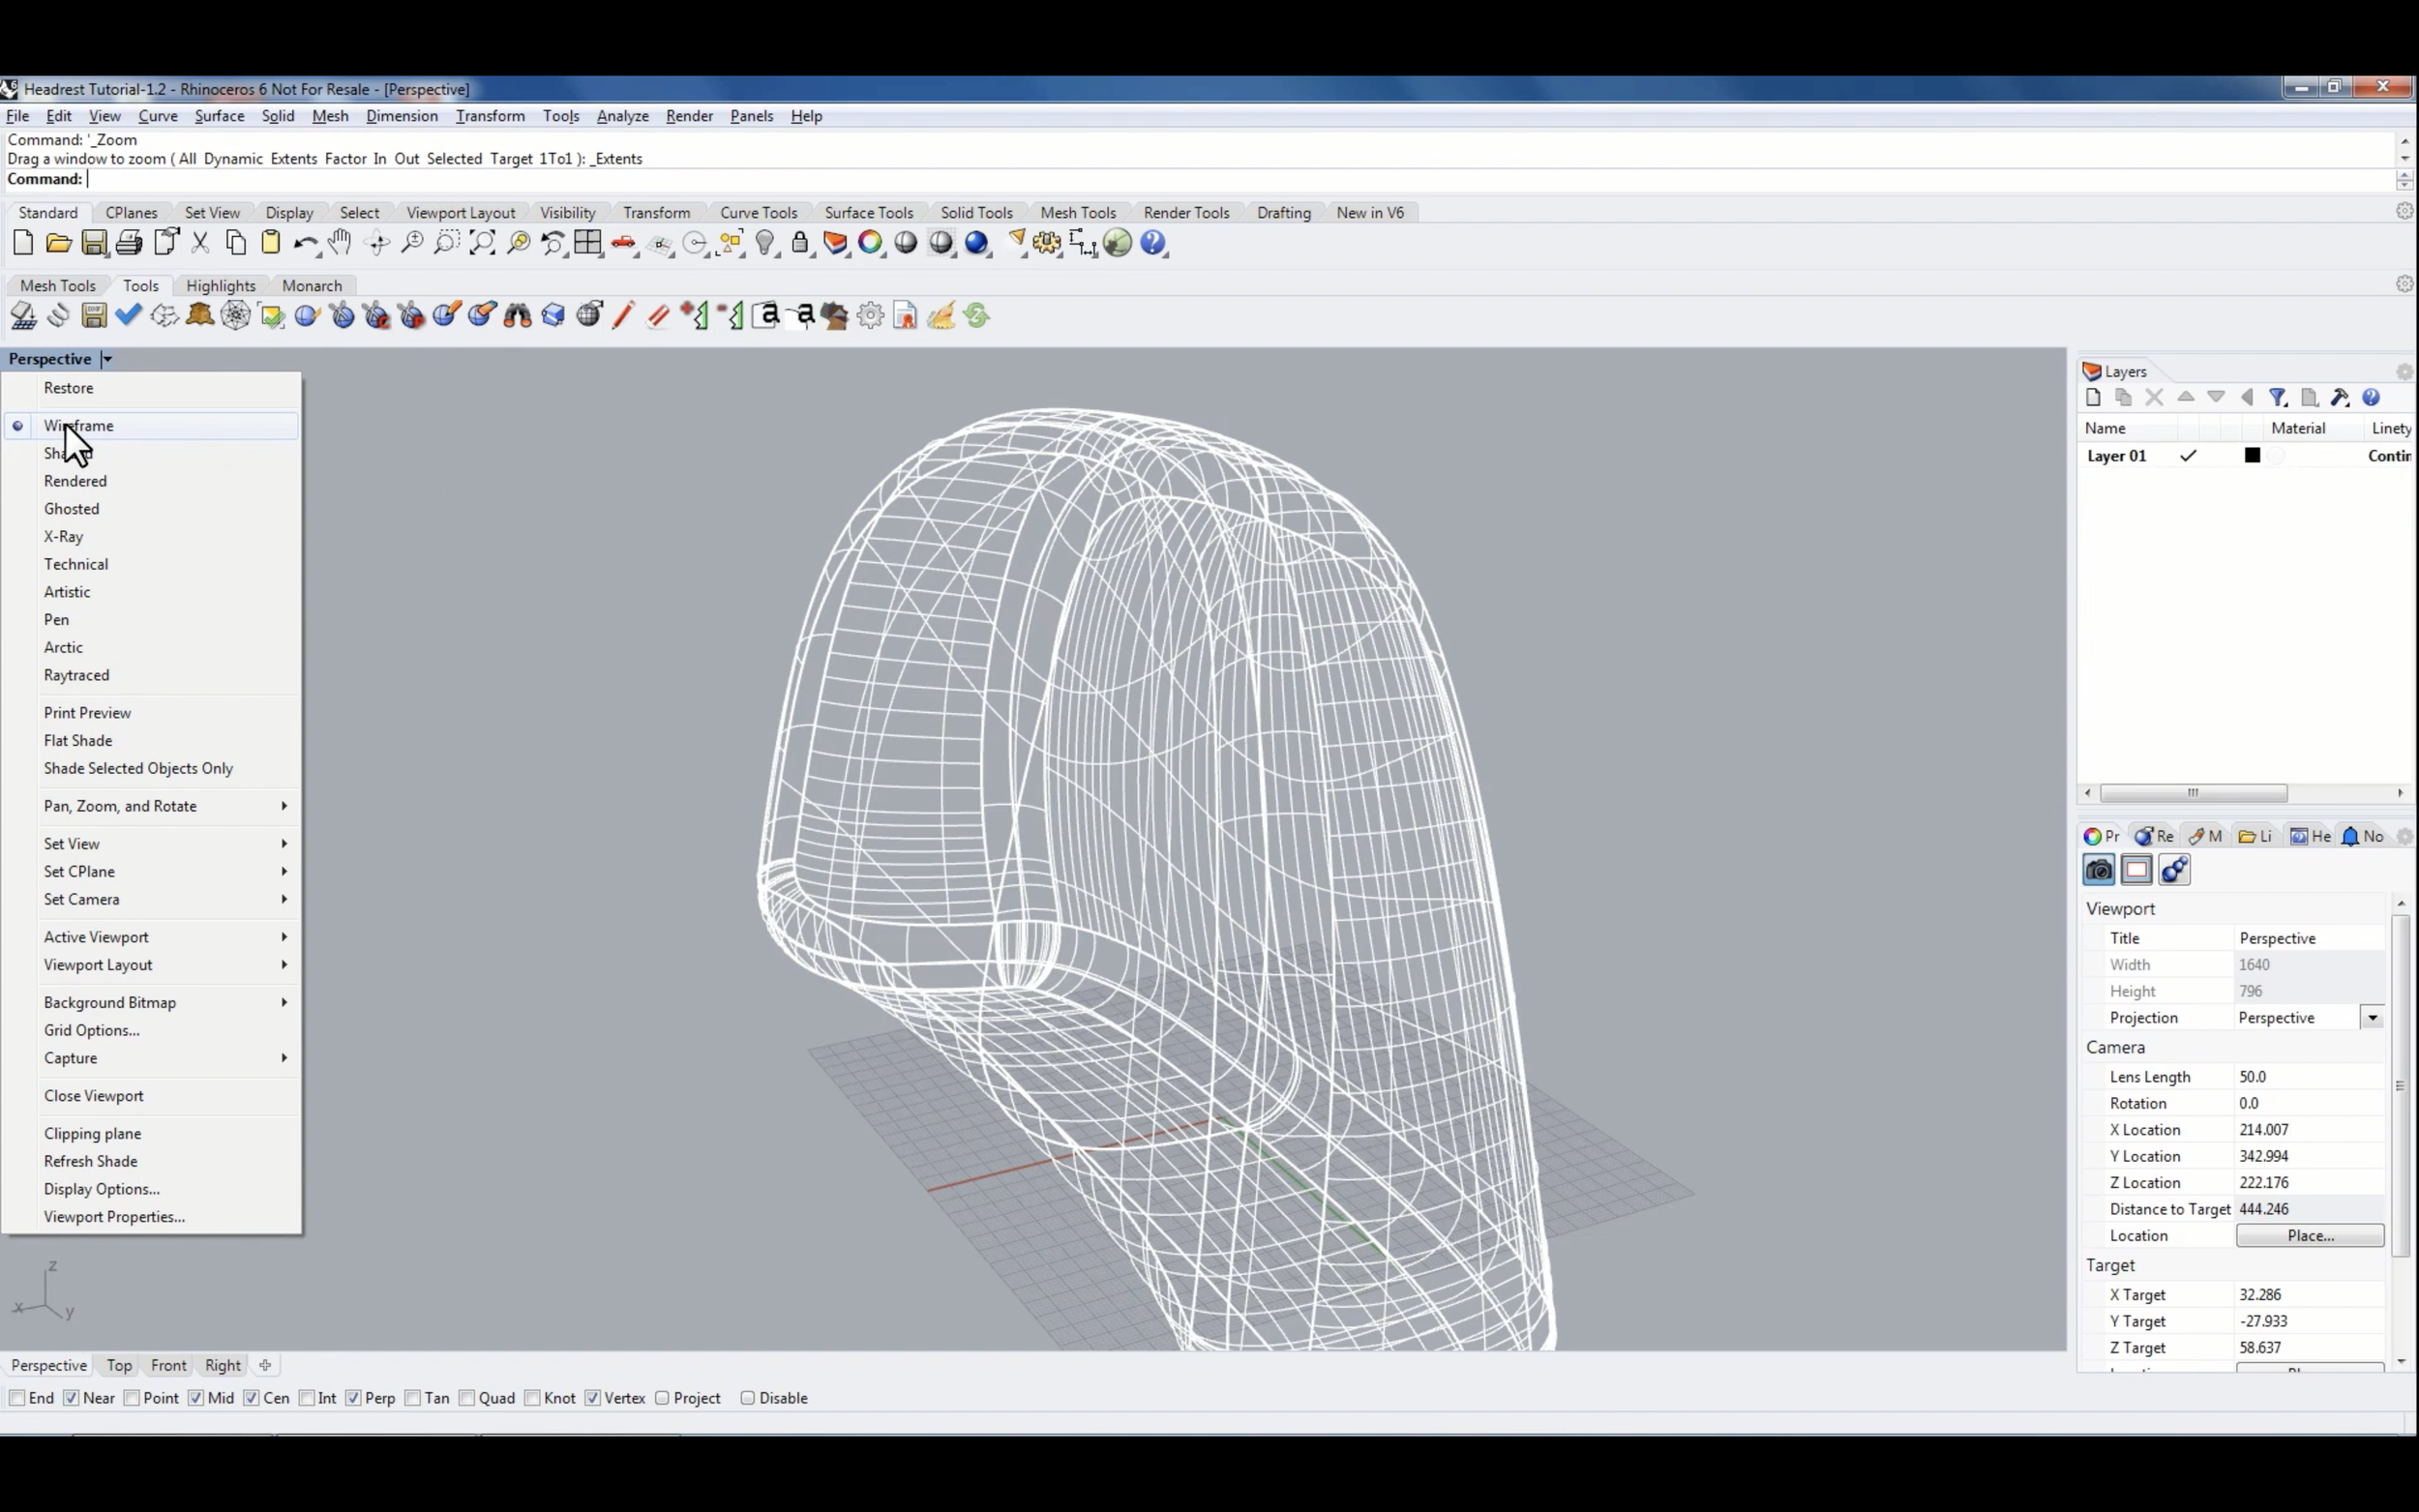
0:19 Import file
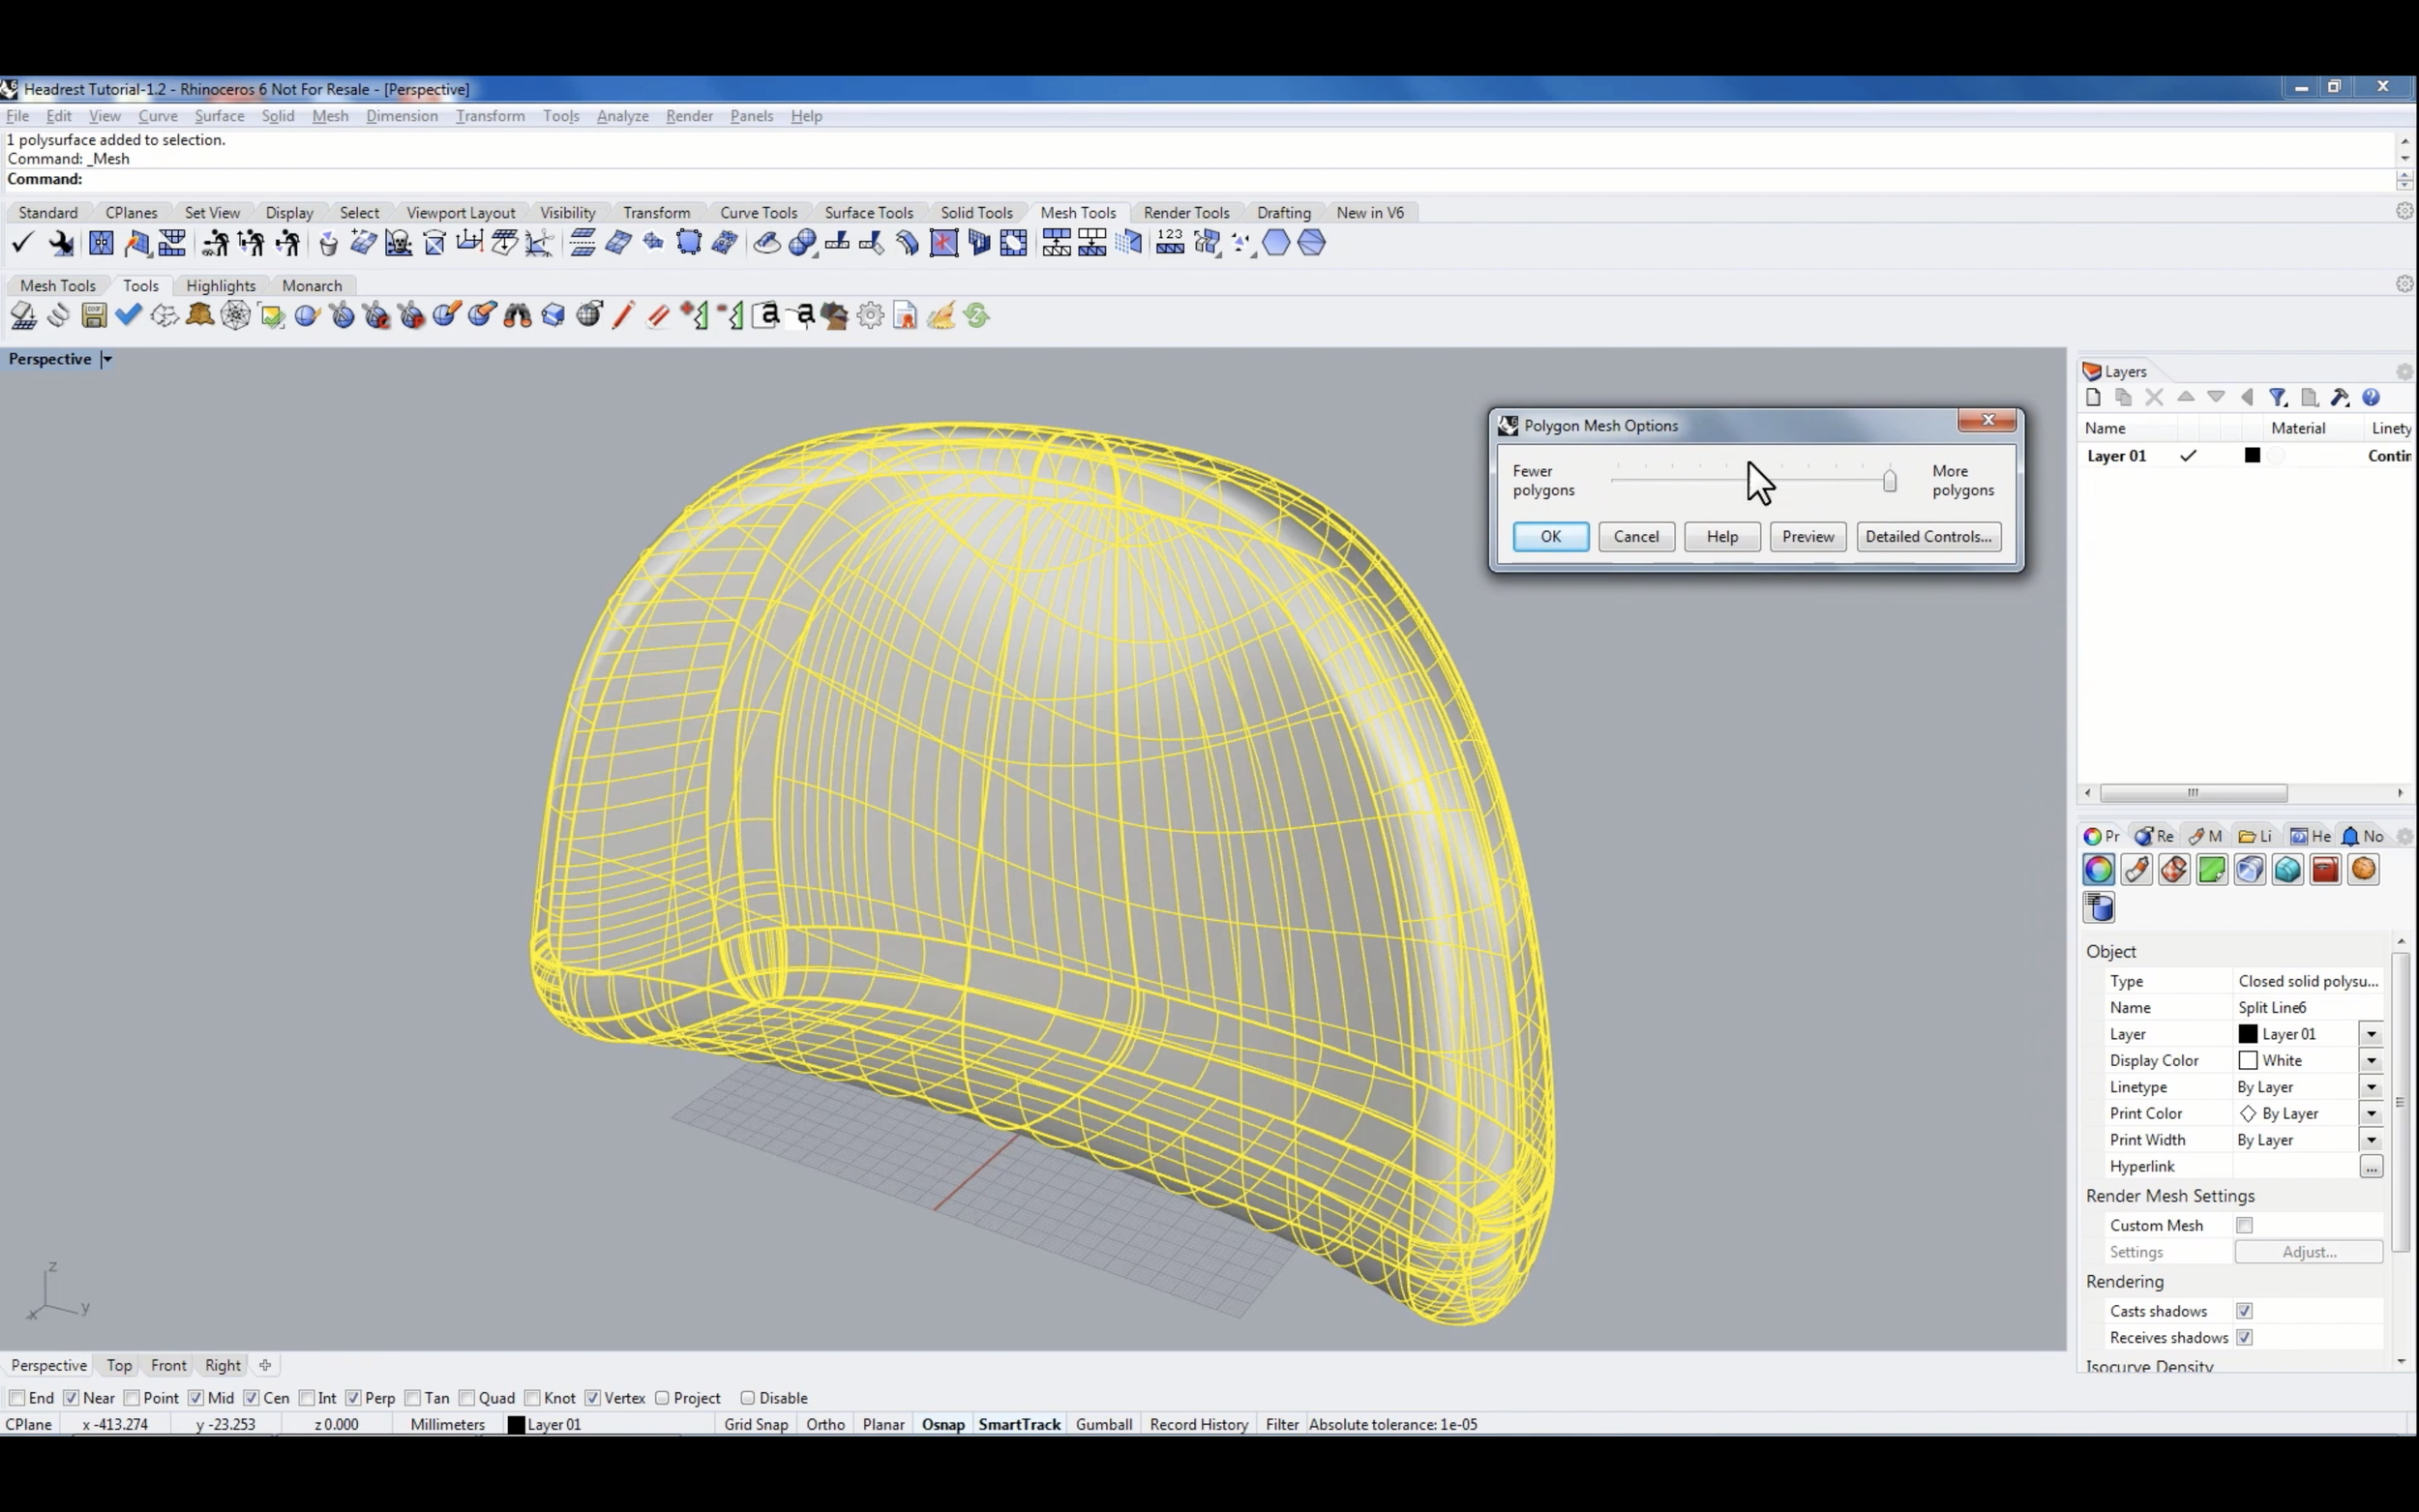
2:40 Create a mesh
3:04 Create layers
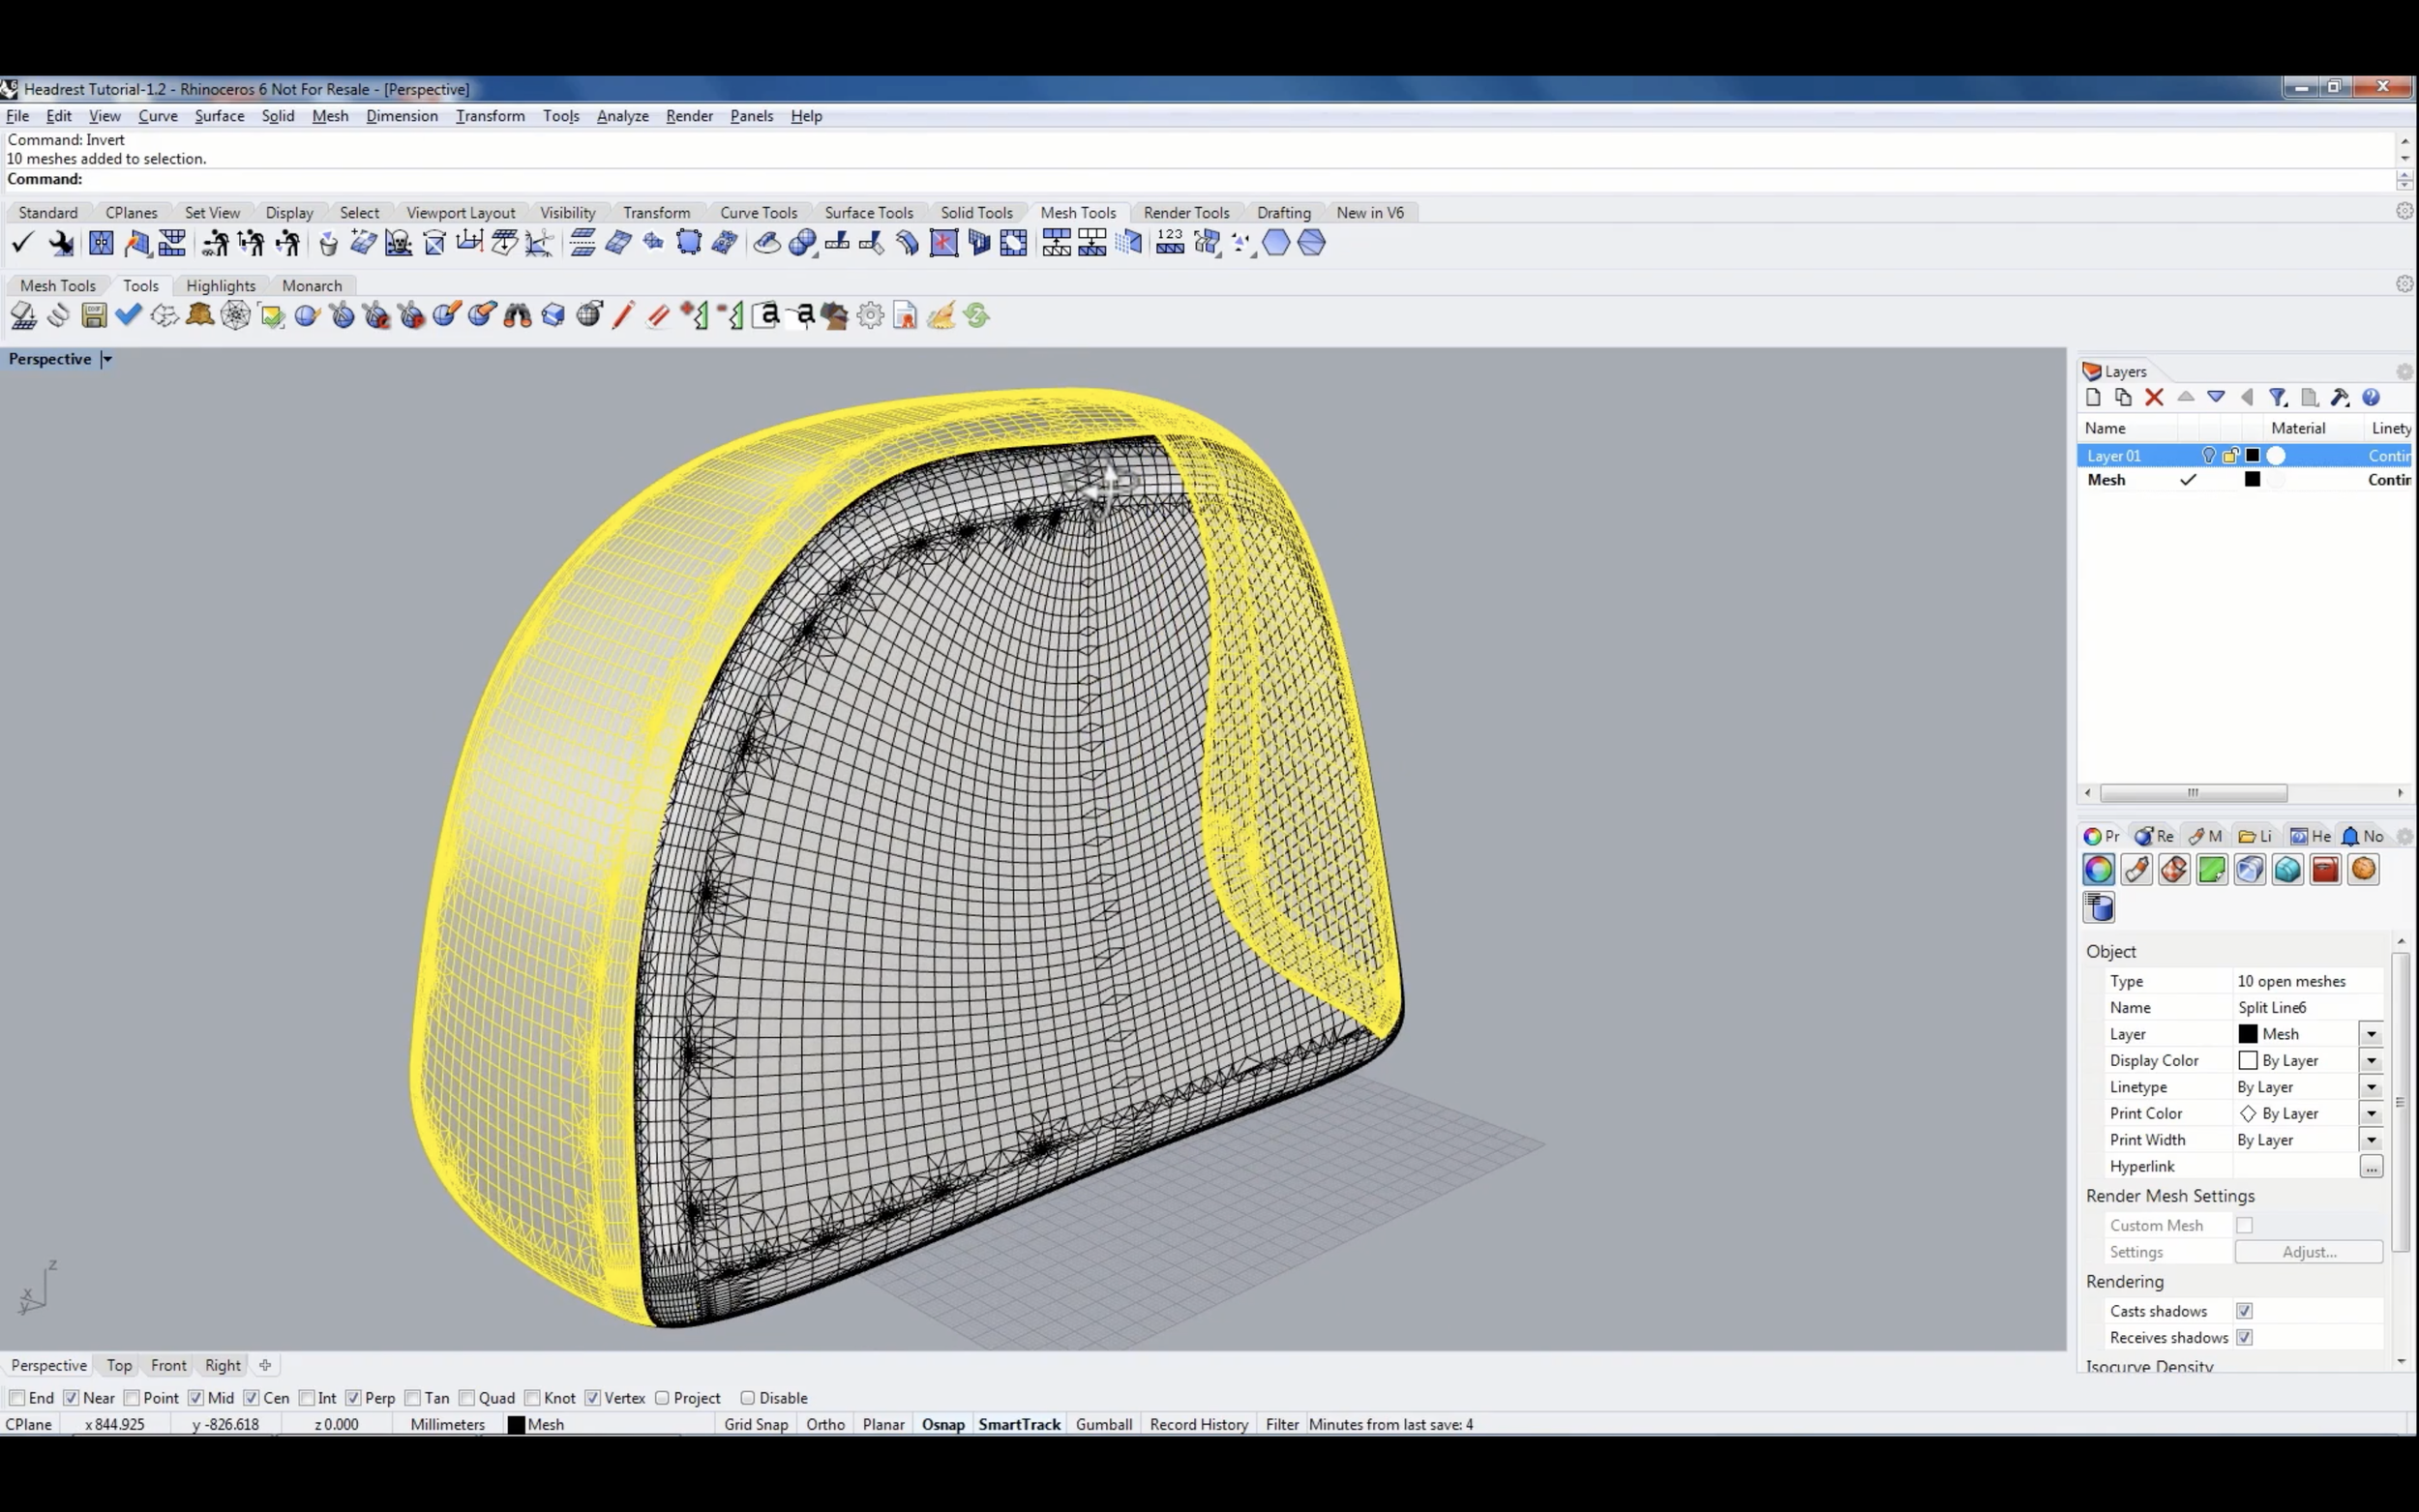
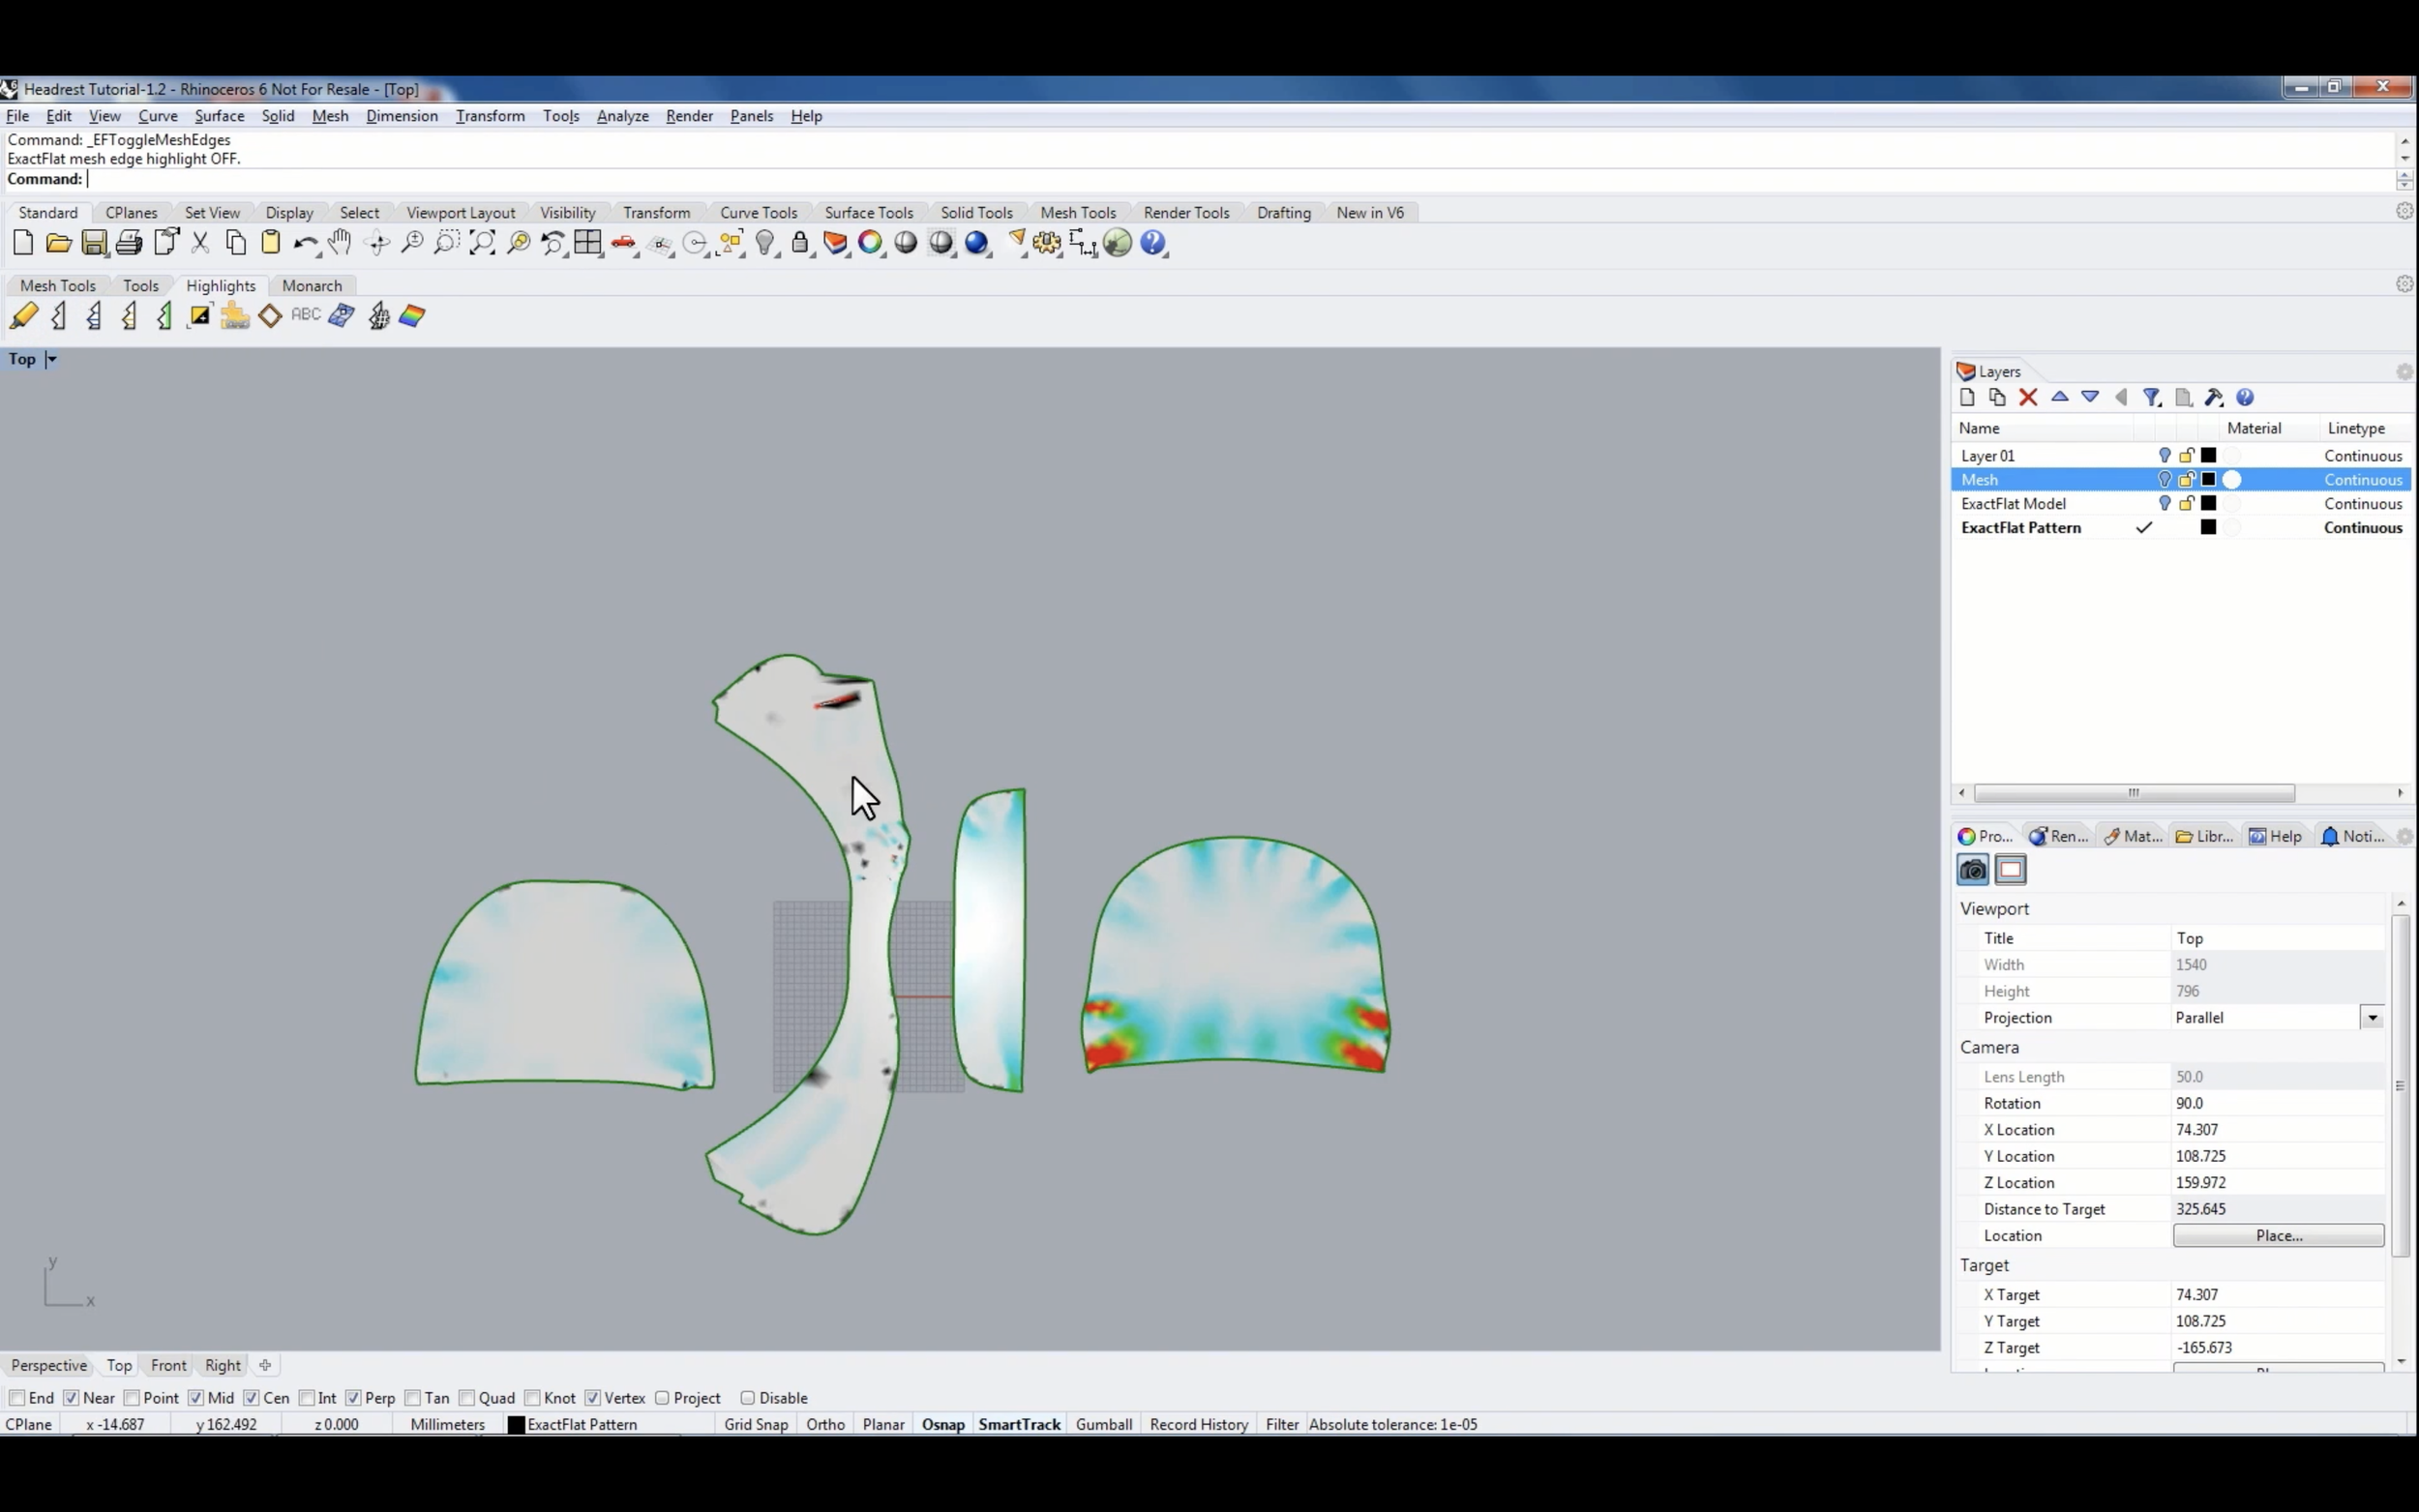
3:59 Explode the mesh
4:17 Create Pieces
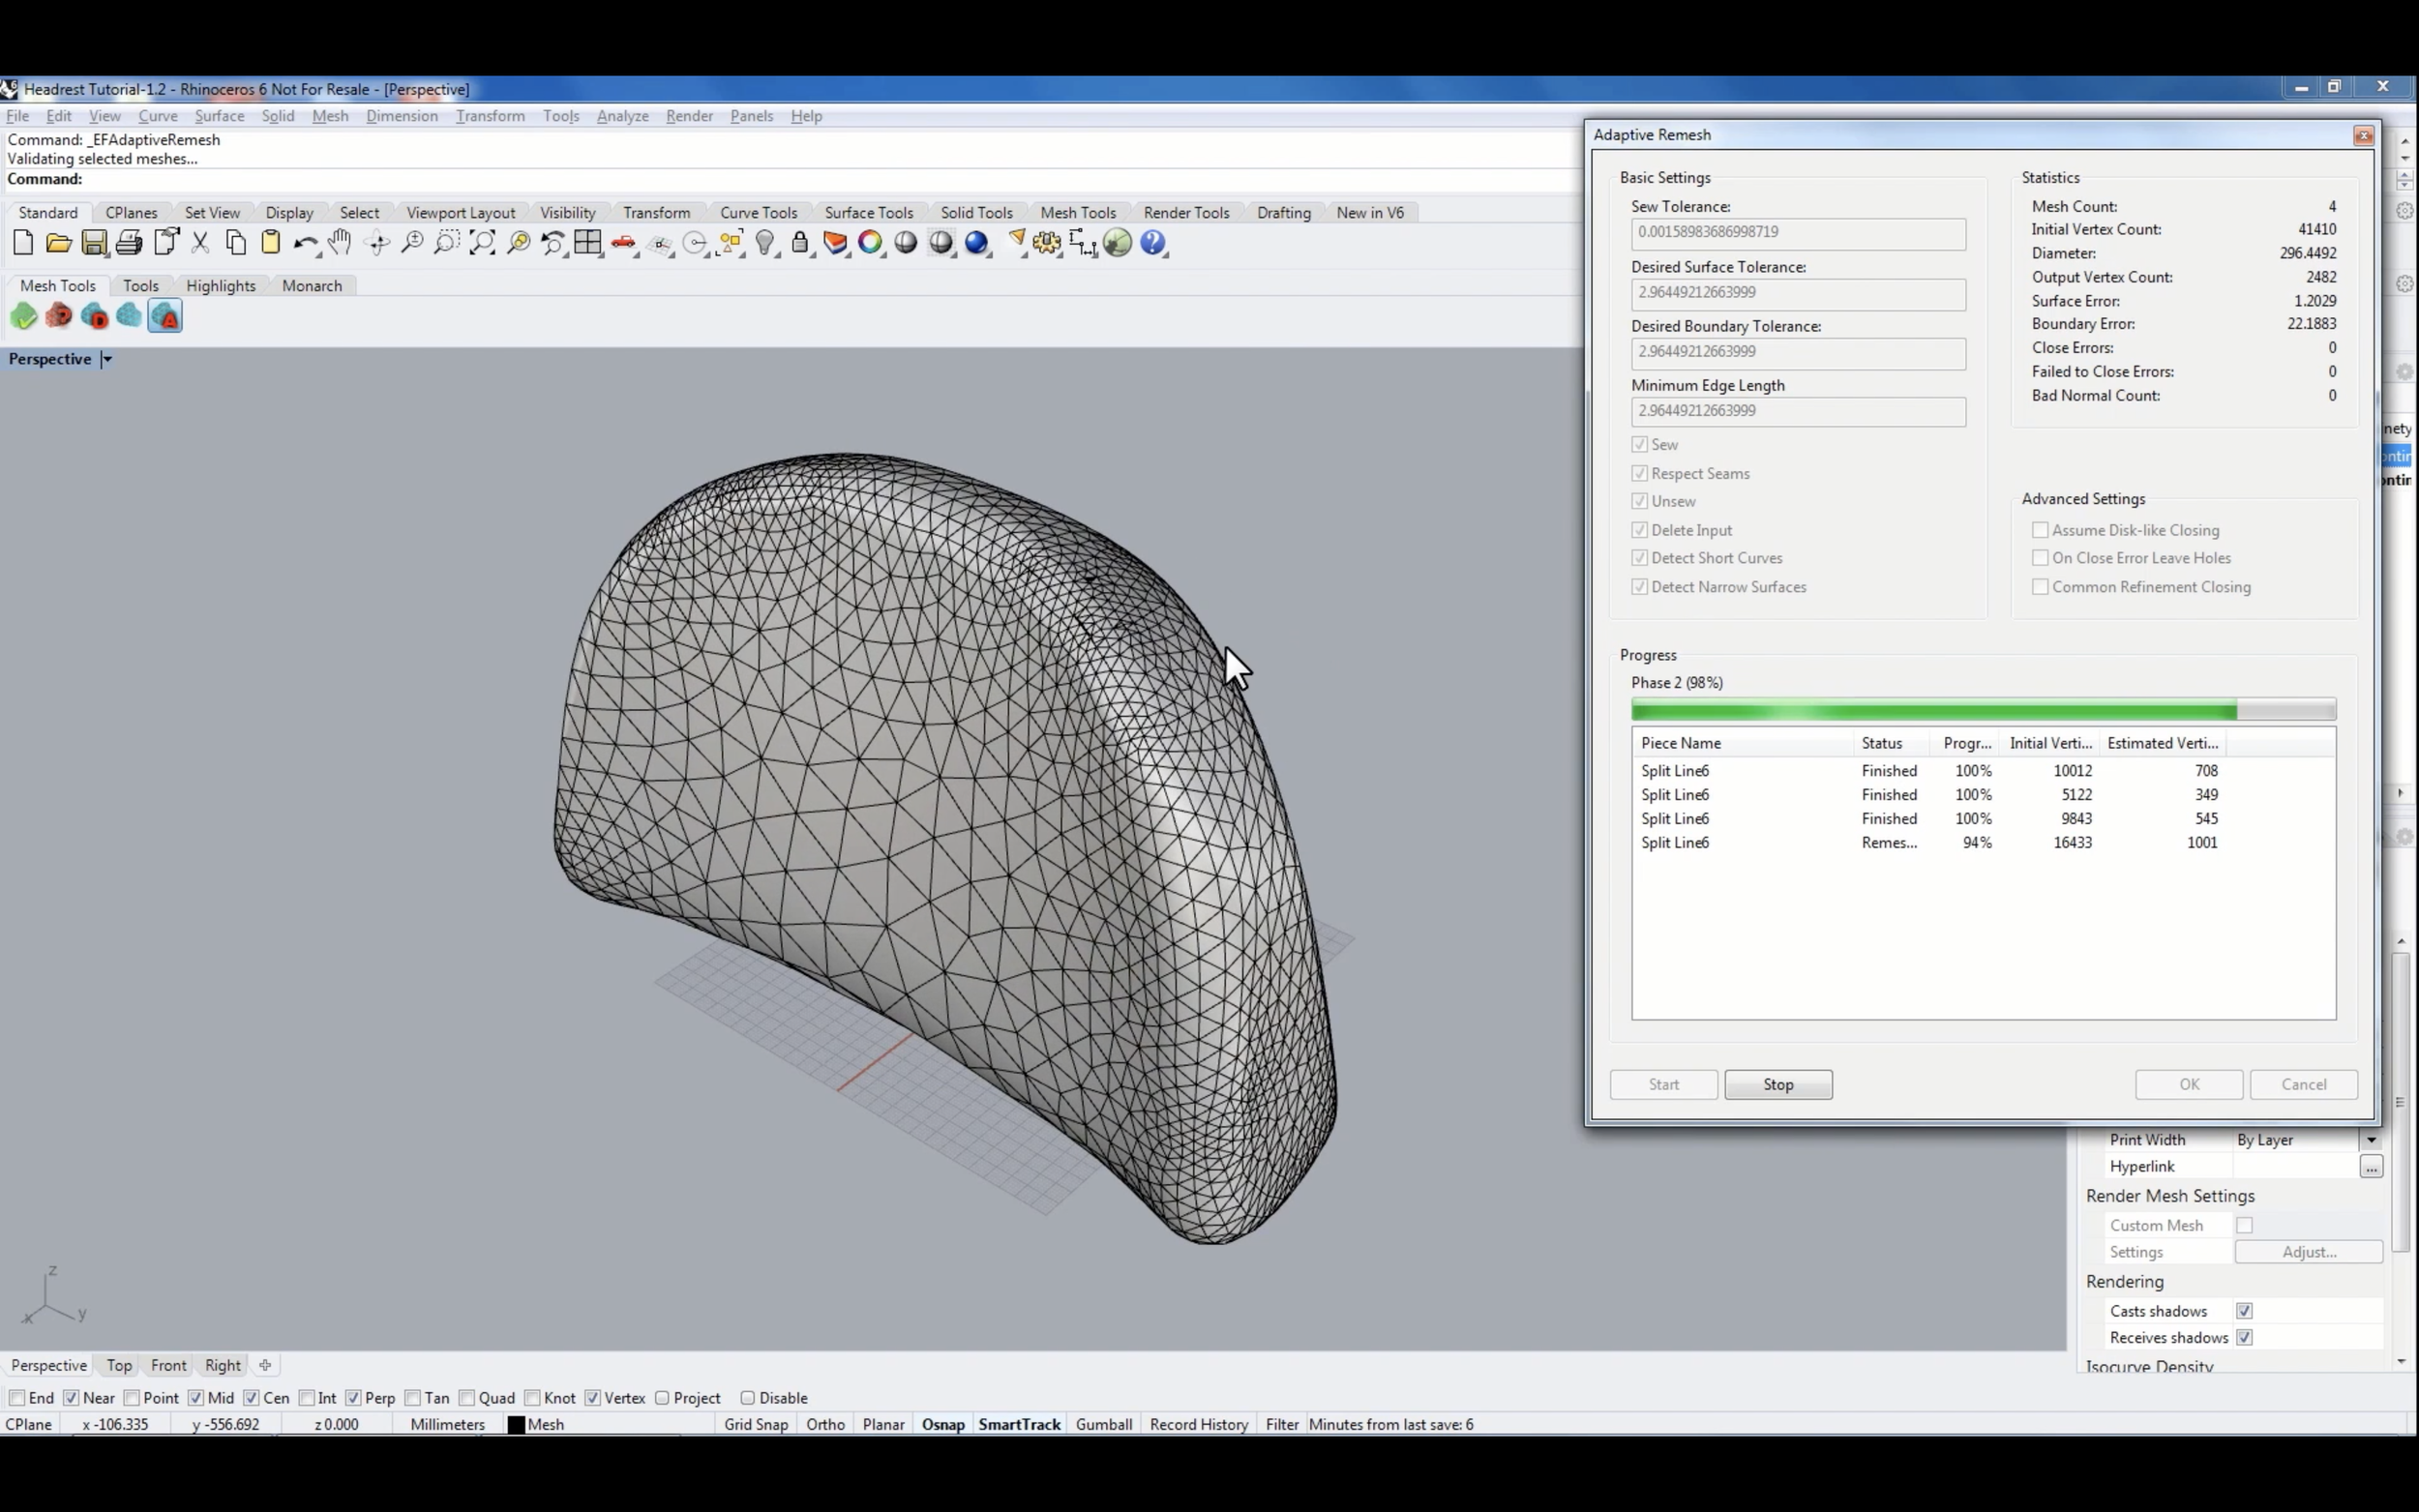
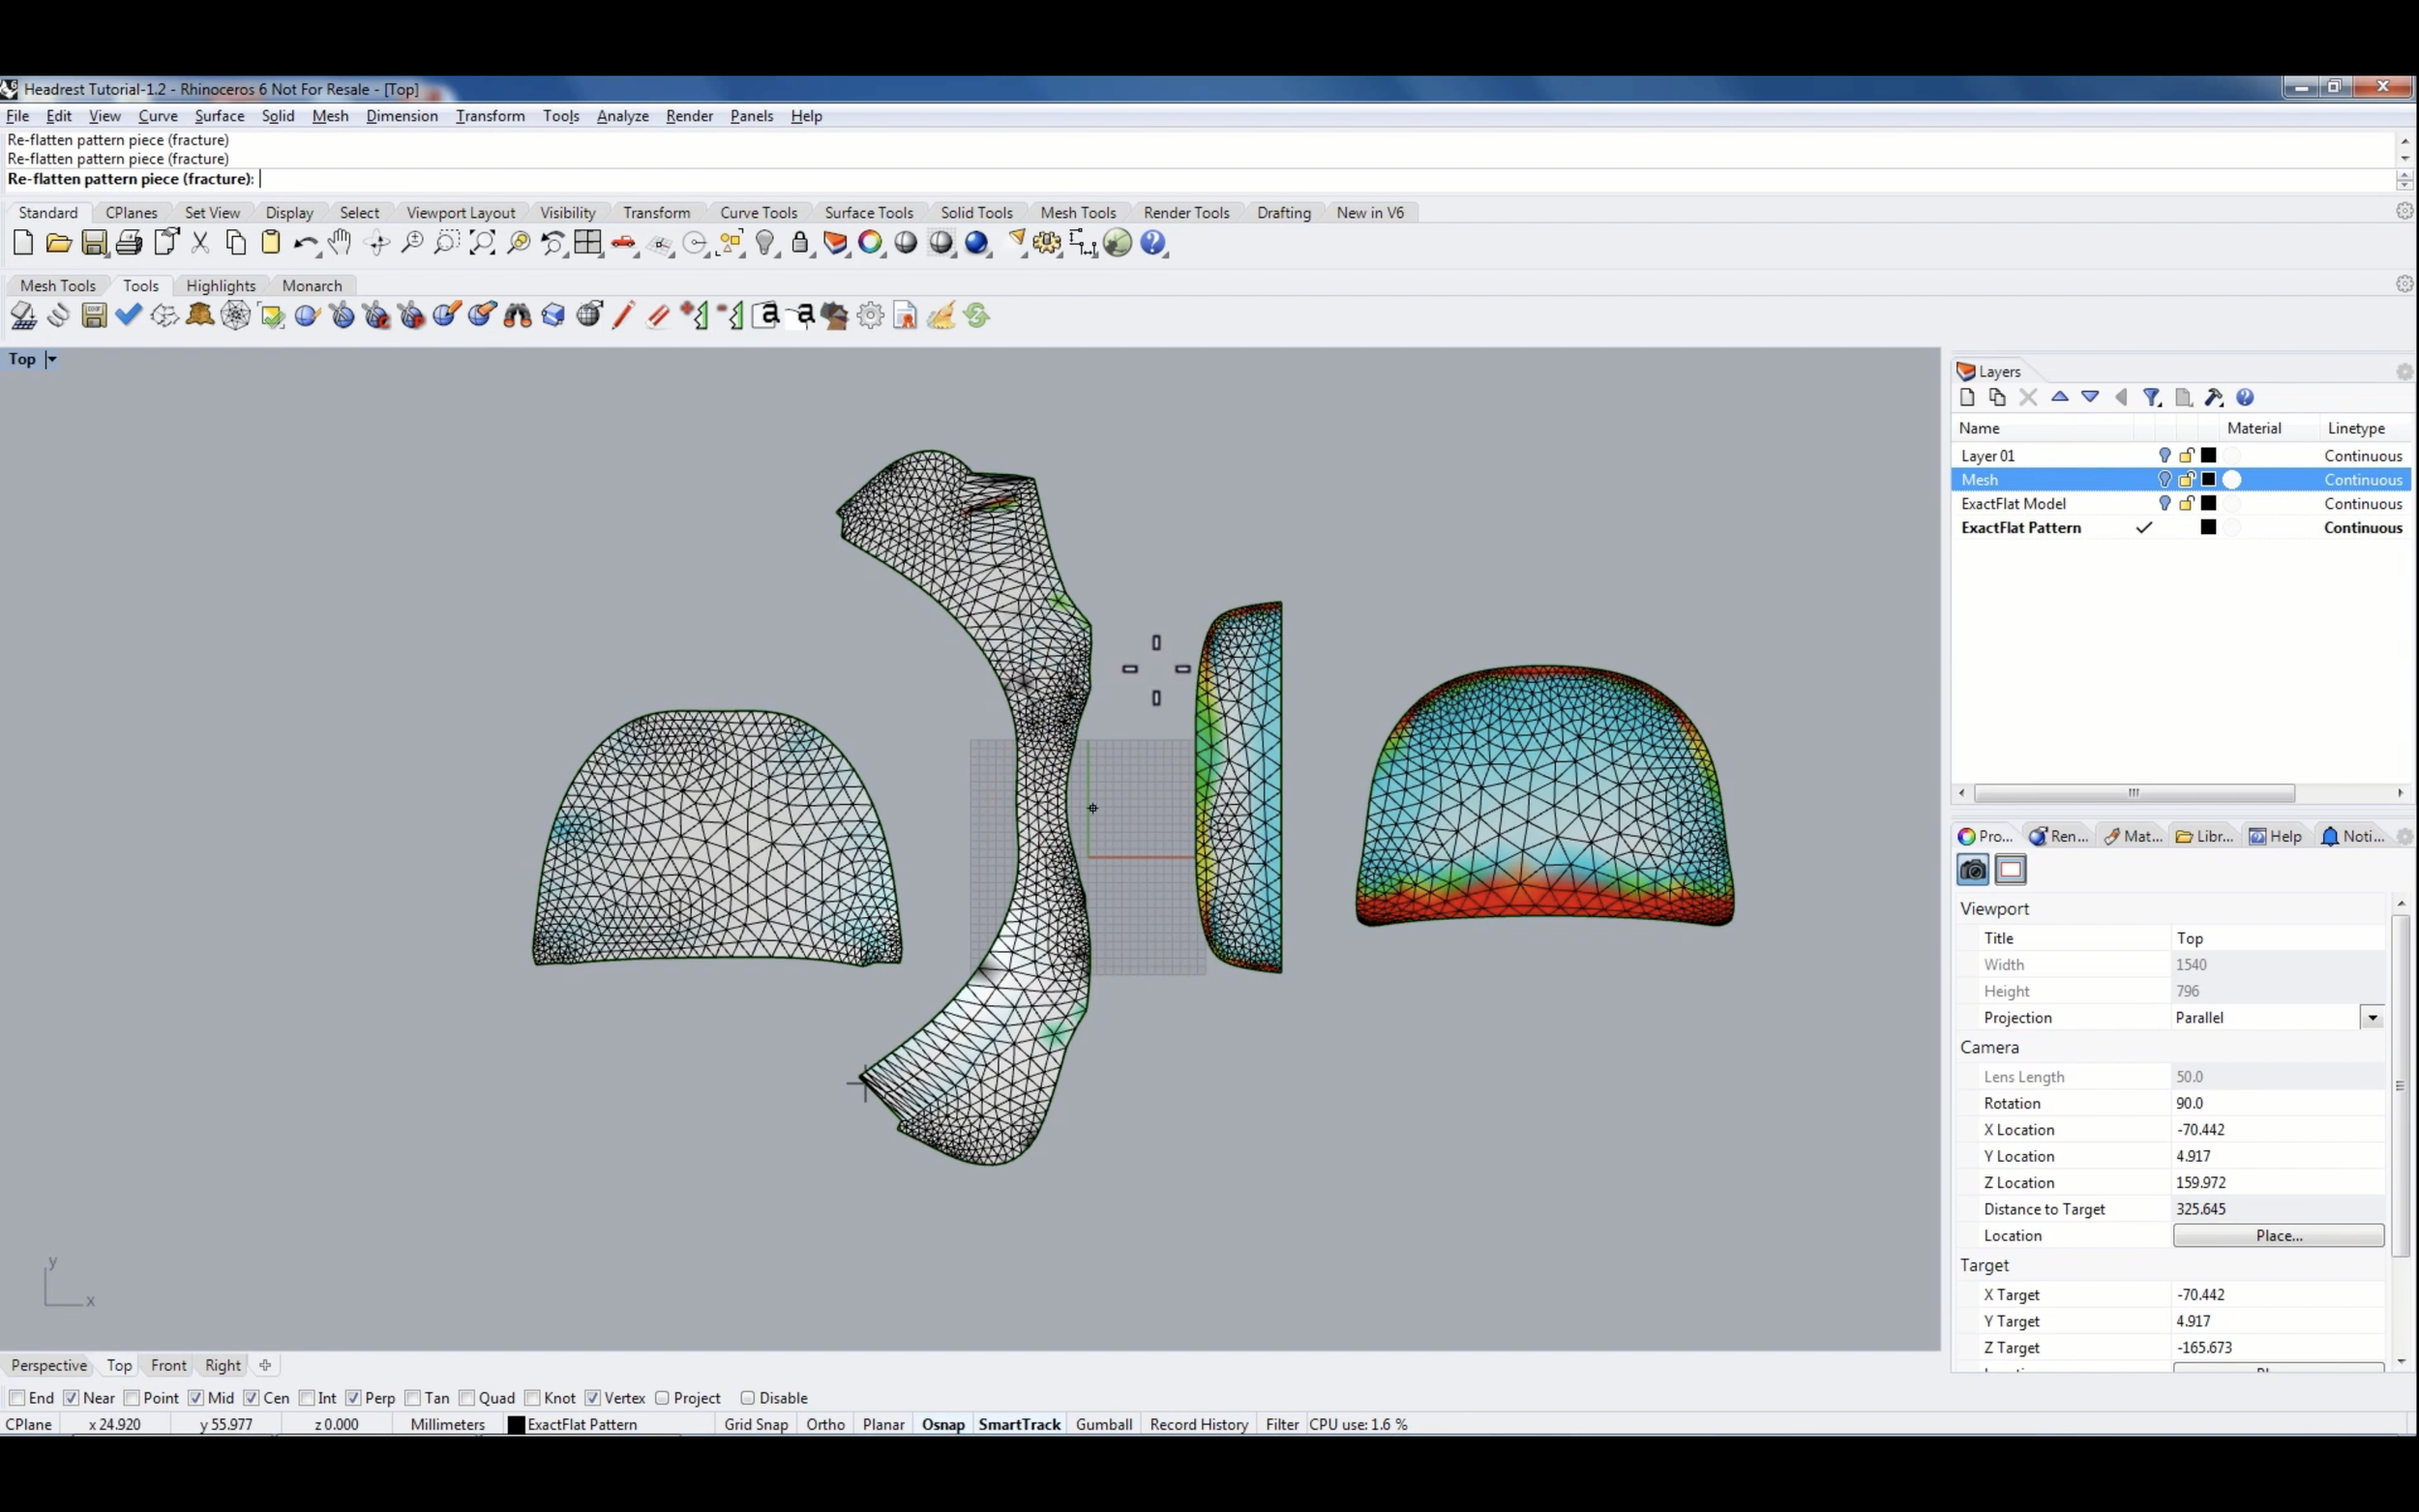
6:45 Mesh tools – Adaptive Remesher
8:18 Initial Unoptimized Pattern
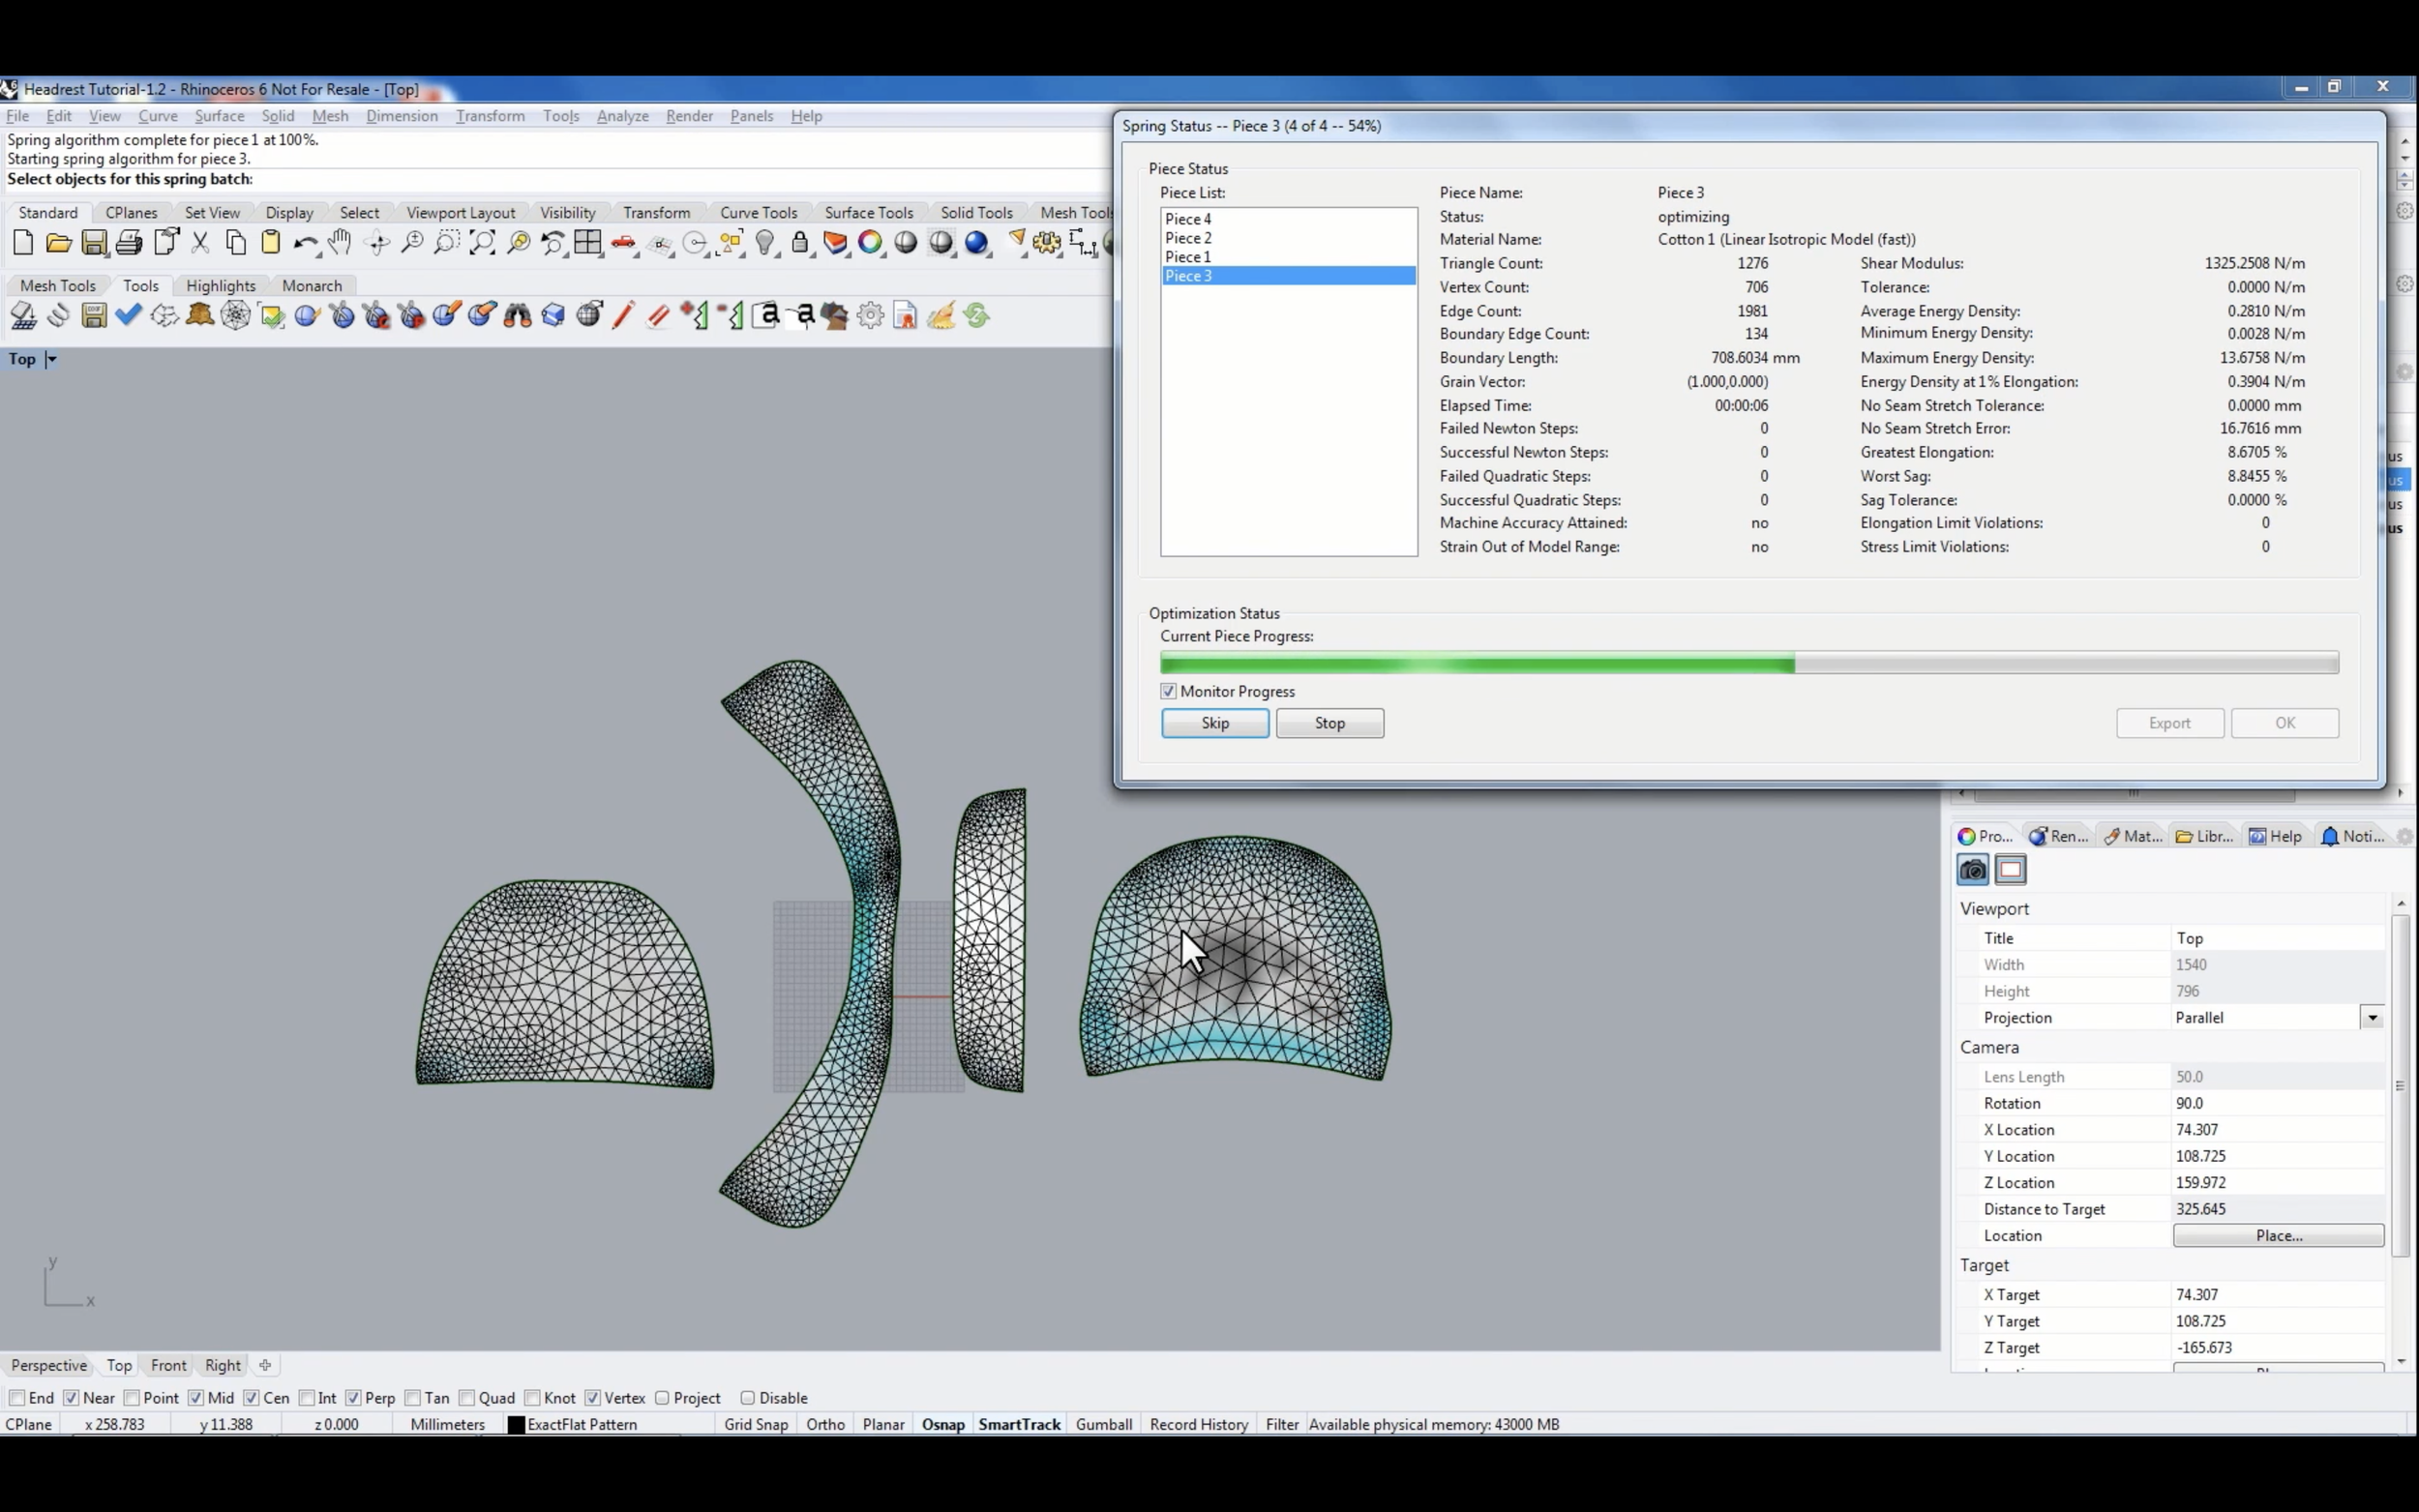
9:20 Pre-flatteners
11:54 Flipped triangle removal tool
12:45 Optimize fit
14:40 Arrange pieces
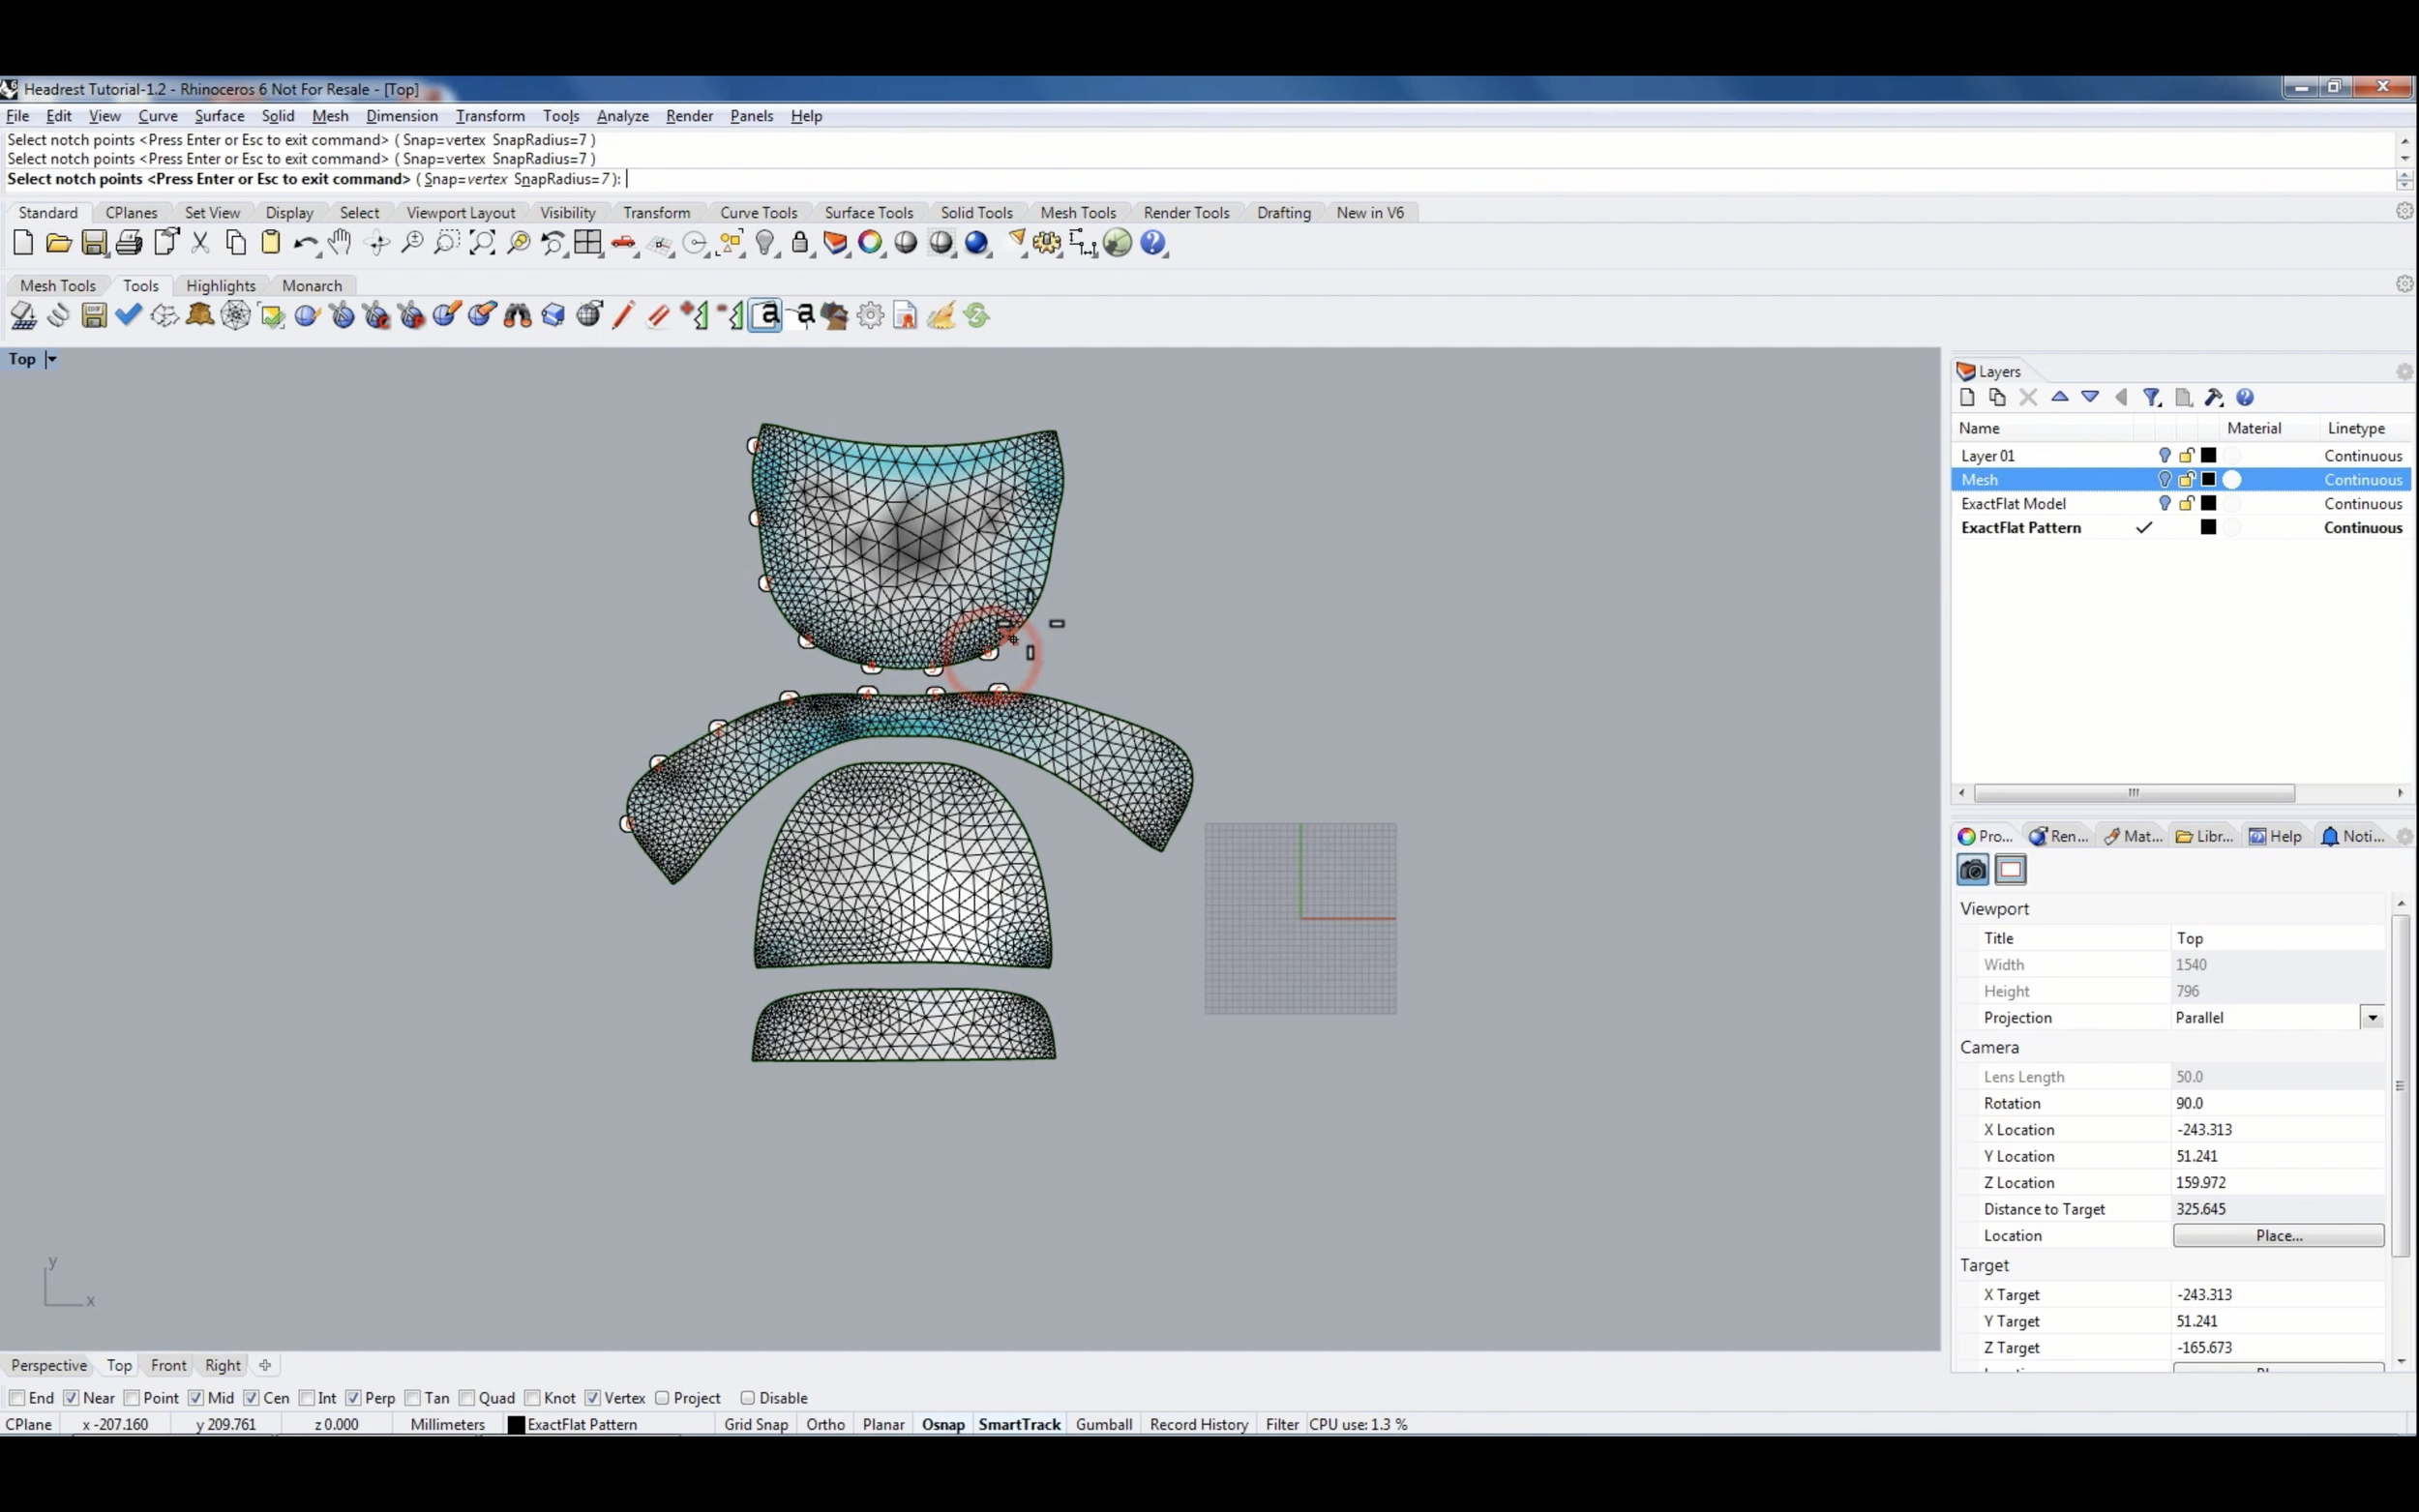
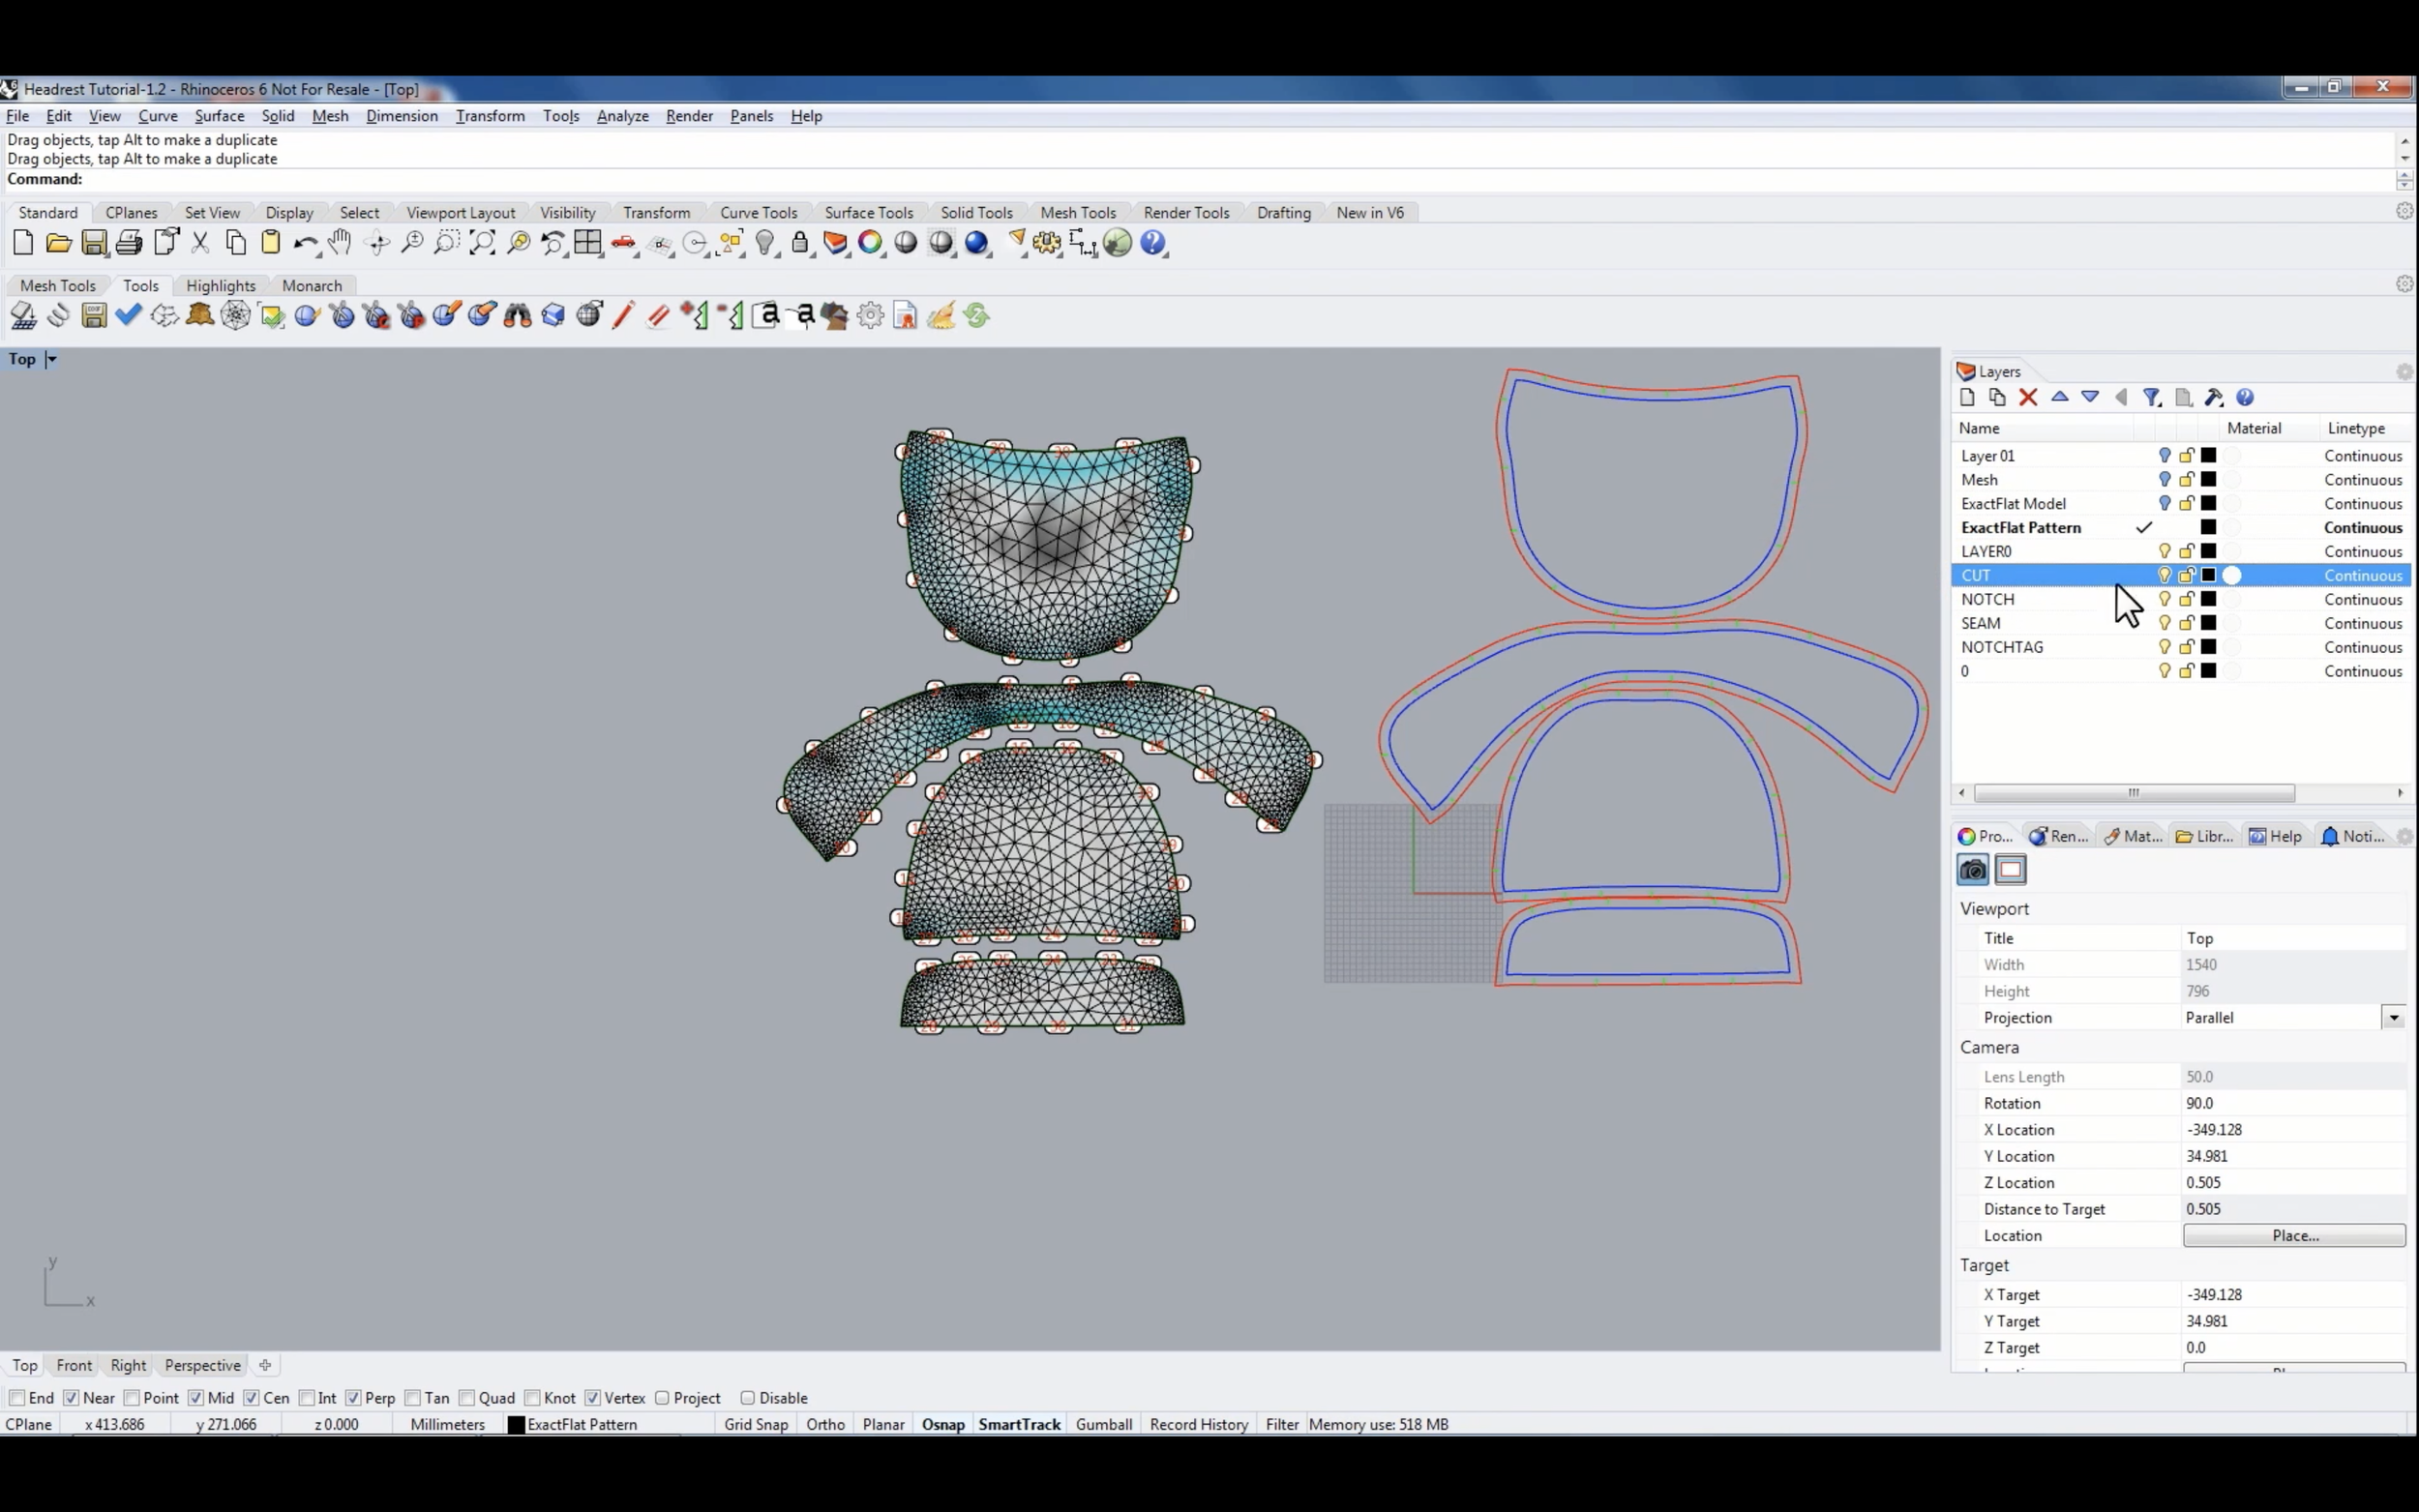
15:55 Add pattern features: notches
18:18 Create a DXF file