
Video Example ExactFlat for Automotive Seating and Interiors
The following video presents an example of using ExactFlat 3D to 2D digital pattern making for Rhino 3D on an automotive seat bun. Automotive interior components such as seating, center consoles, dashboards, steering wheels and door panels are excellent candidates for improving patterning with digital pattern making tools. This is because digital pattern making is faster and more agile, it works well with complex surfaces, and it is easy to learn and easy to use.
First, ExactFlat 3D to 2D digital pattern making offers a faster way to design and develop automotive trim patterns. The process can be completed in as little as 5 steps in 5 minutes with typical projects taking about 30 minutes to complete. The increased speed gives more time for optimization to produce a better product faster.
Second, ExactFlat can handle the 3D to 2D flattening of complex double curved surfaces. This is because ExactFlat can eliminate folds and wrinkles, optimize fit, and even apply a targeted amount of strain in areas where it is desired.
Lastly, ExactFlat can be learned in as little as 4 hours. Trim designers, and pattern makers are busy, and are under tremendous pressure to deliver results. Therefore ExactFlat has a simplified 3D to 2D workflow that maintains the conventions of the host CAD platform for easy and fast learning.
Automotive trim and seating pattern makers can benefit from understanding the digital patterning workflow. This video will show you an overview of the workflow so you can better understand the faster, more agile way to finish your projects.

ExactFlat 3d to 2D digital patternign software for automotive Seating and interiors: flattening of an automotive seat bun
The timecode table of contents is shown below. Clink on the time stamps to be taken directly to that section of the video:
0:00 Introduction
0:20 Mesh tools
5:41 Remesher tool
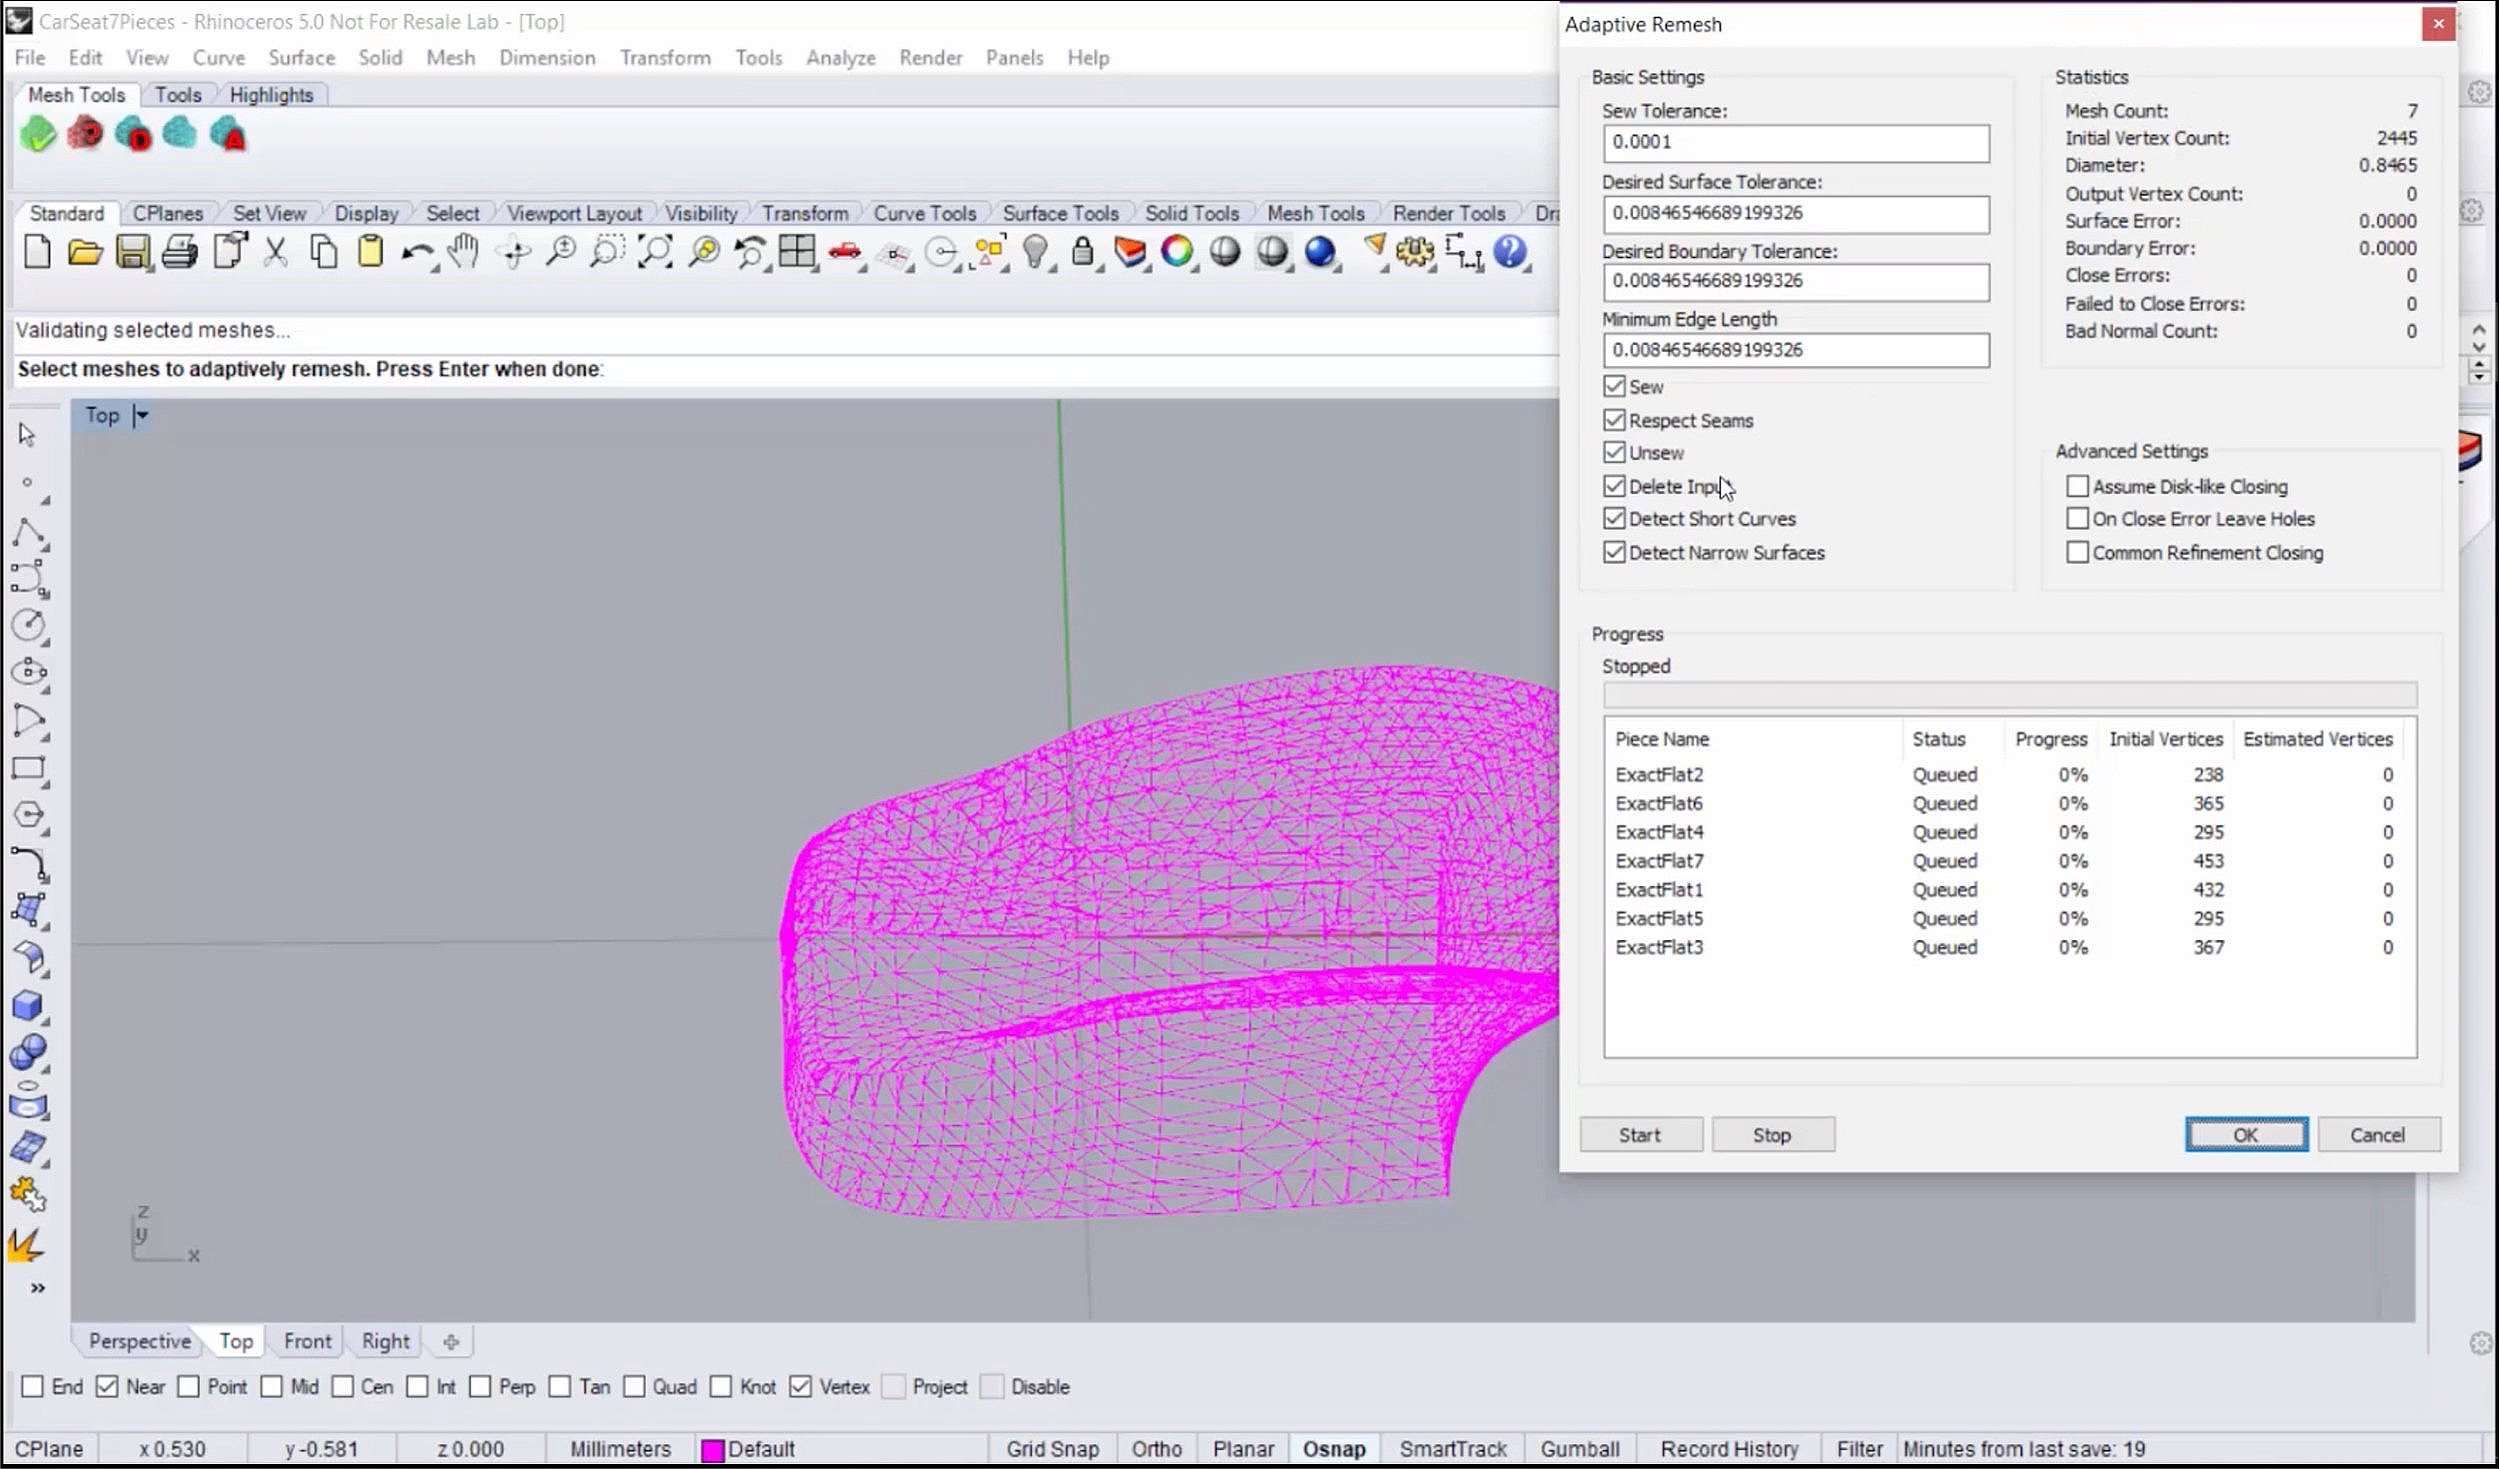
6:57 Adaptive Remesher tool
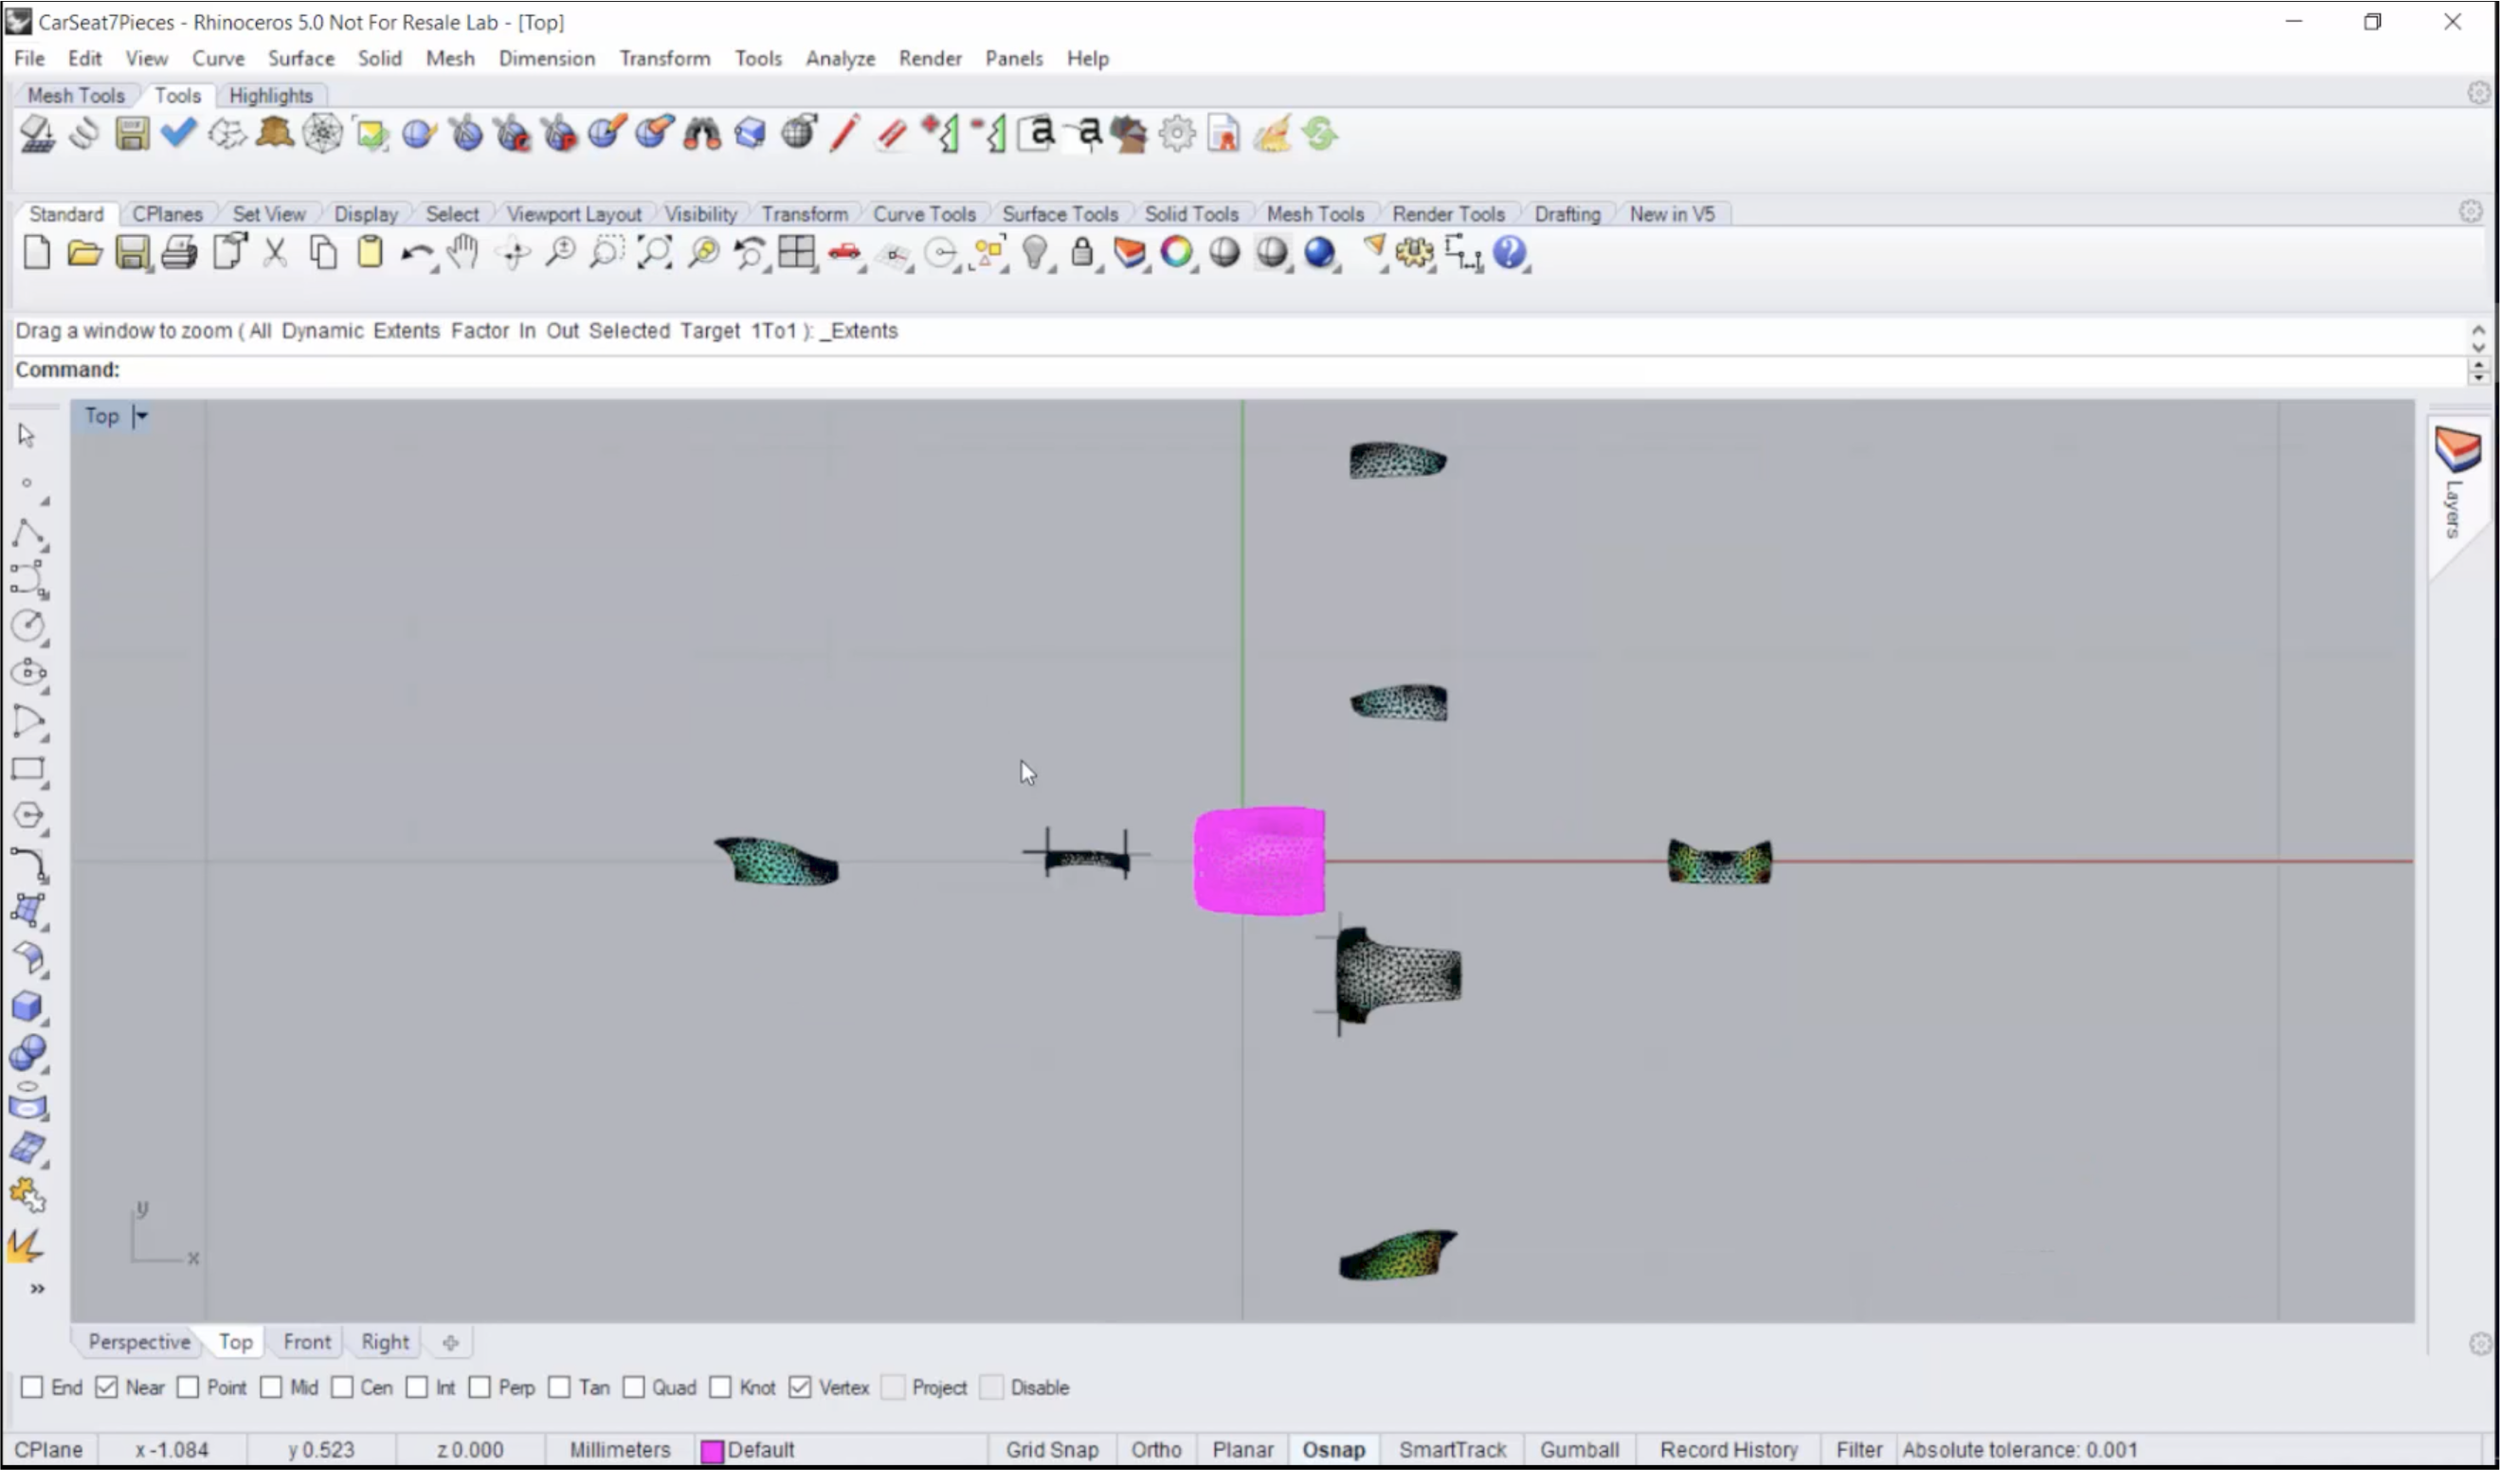
8:31 Flattening tools: Unoptimized flat pattern
9:55 The “Find” tool
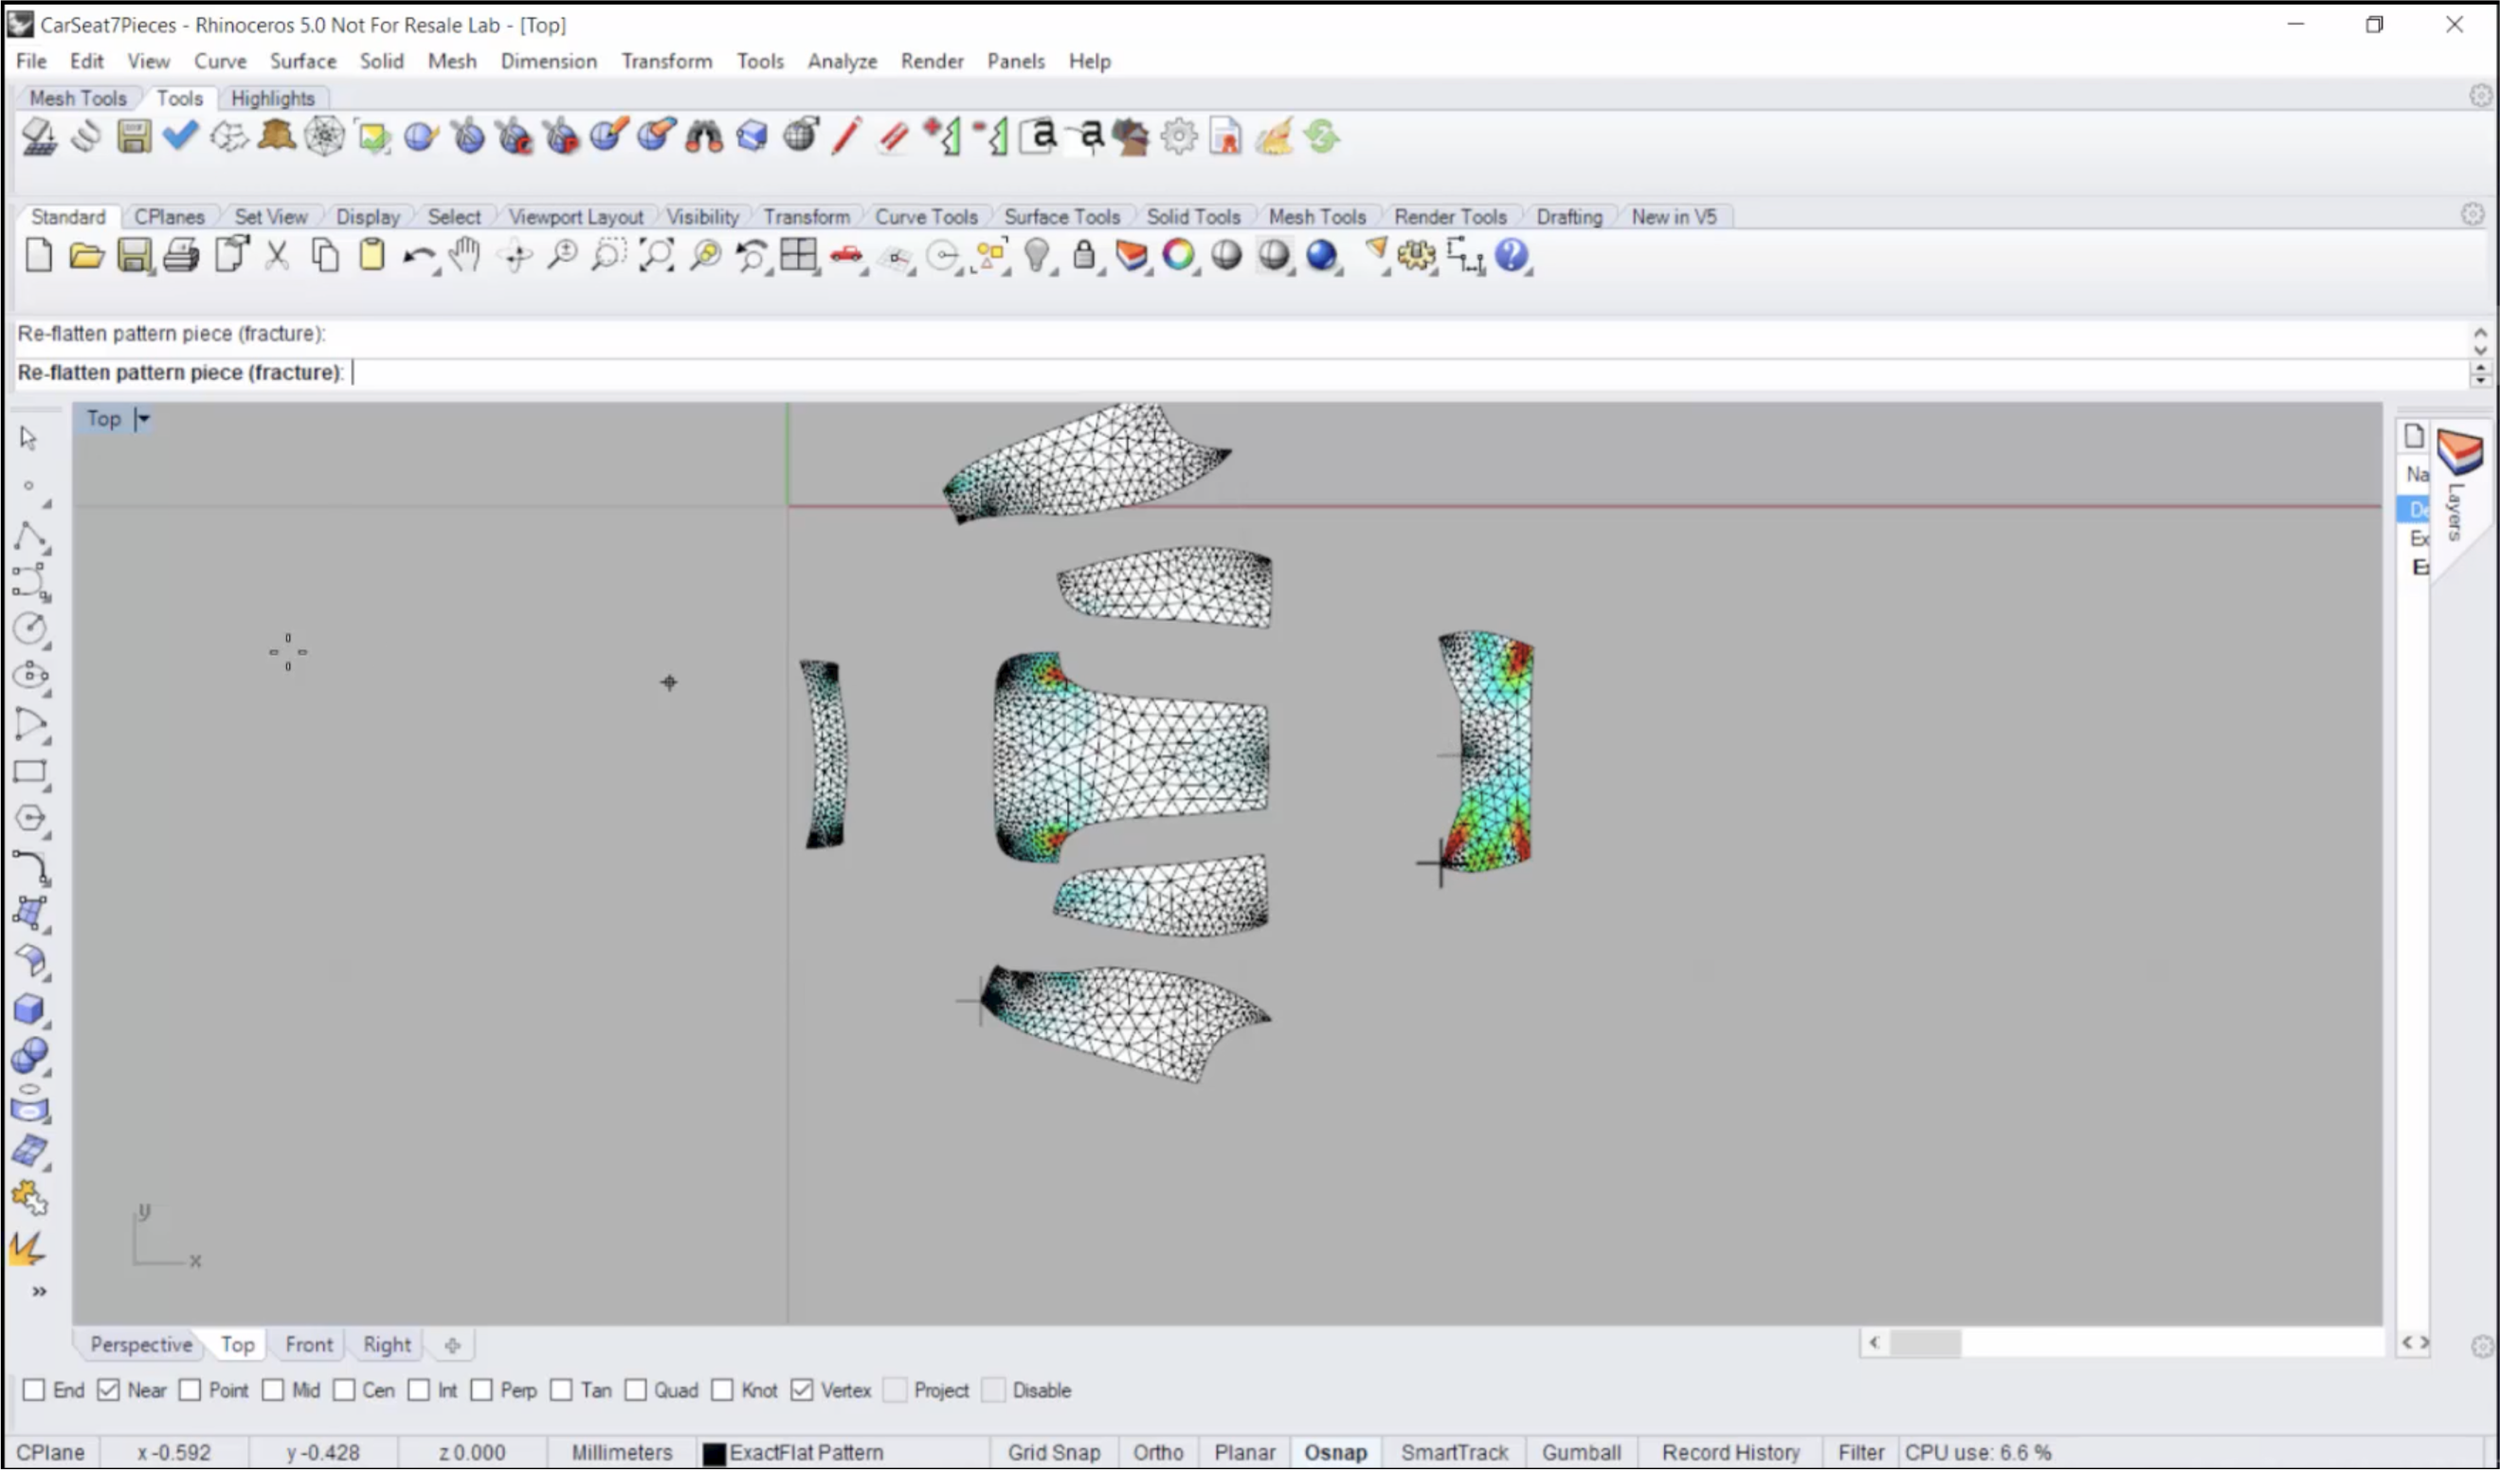
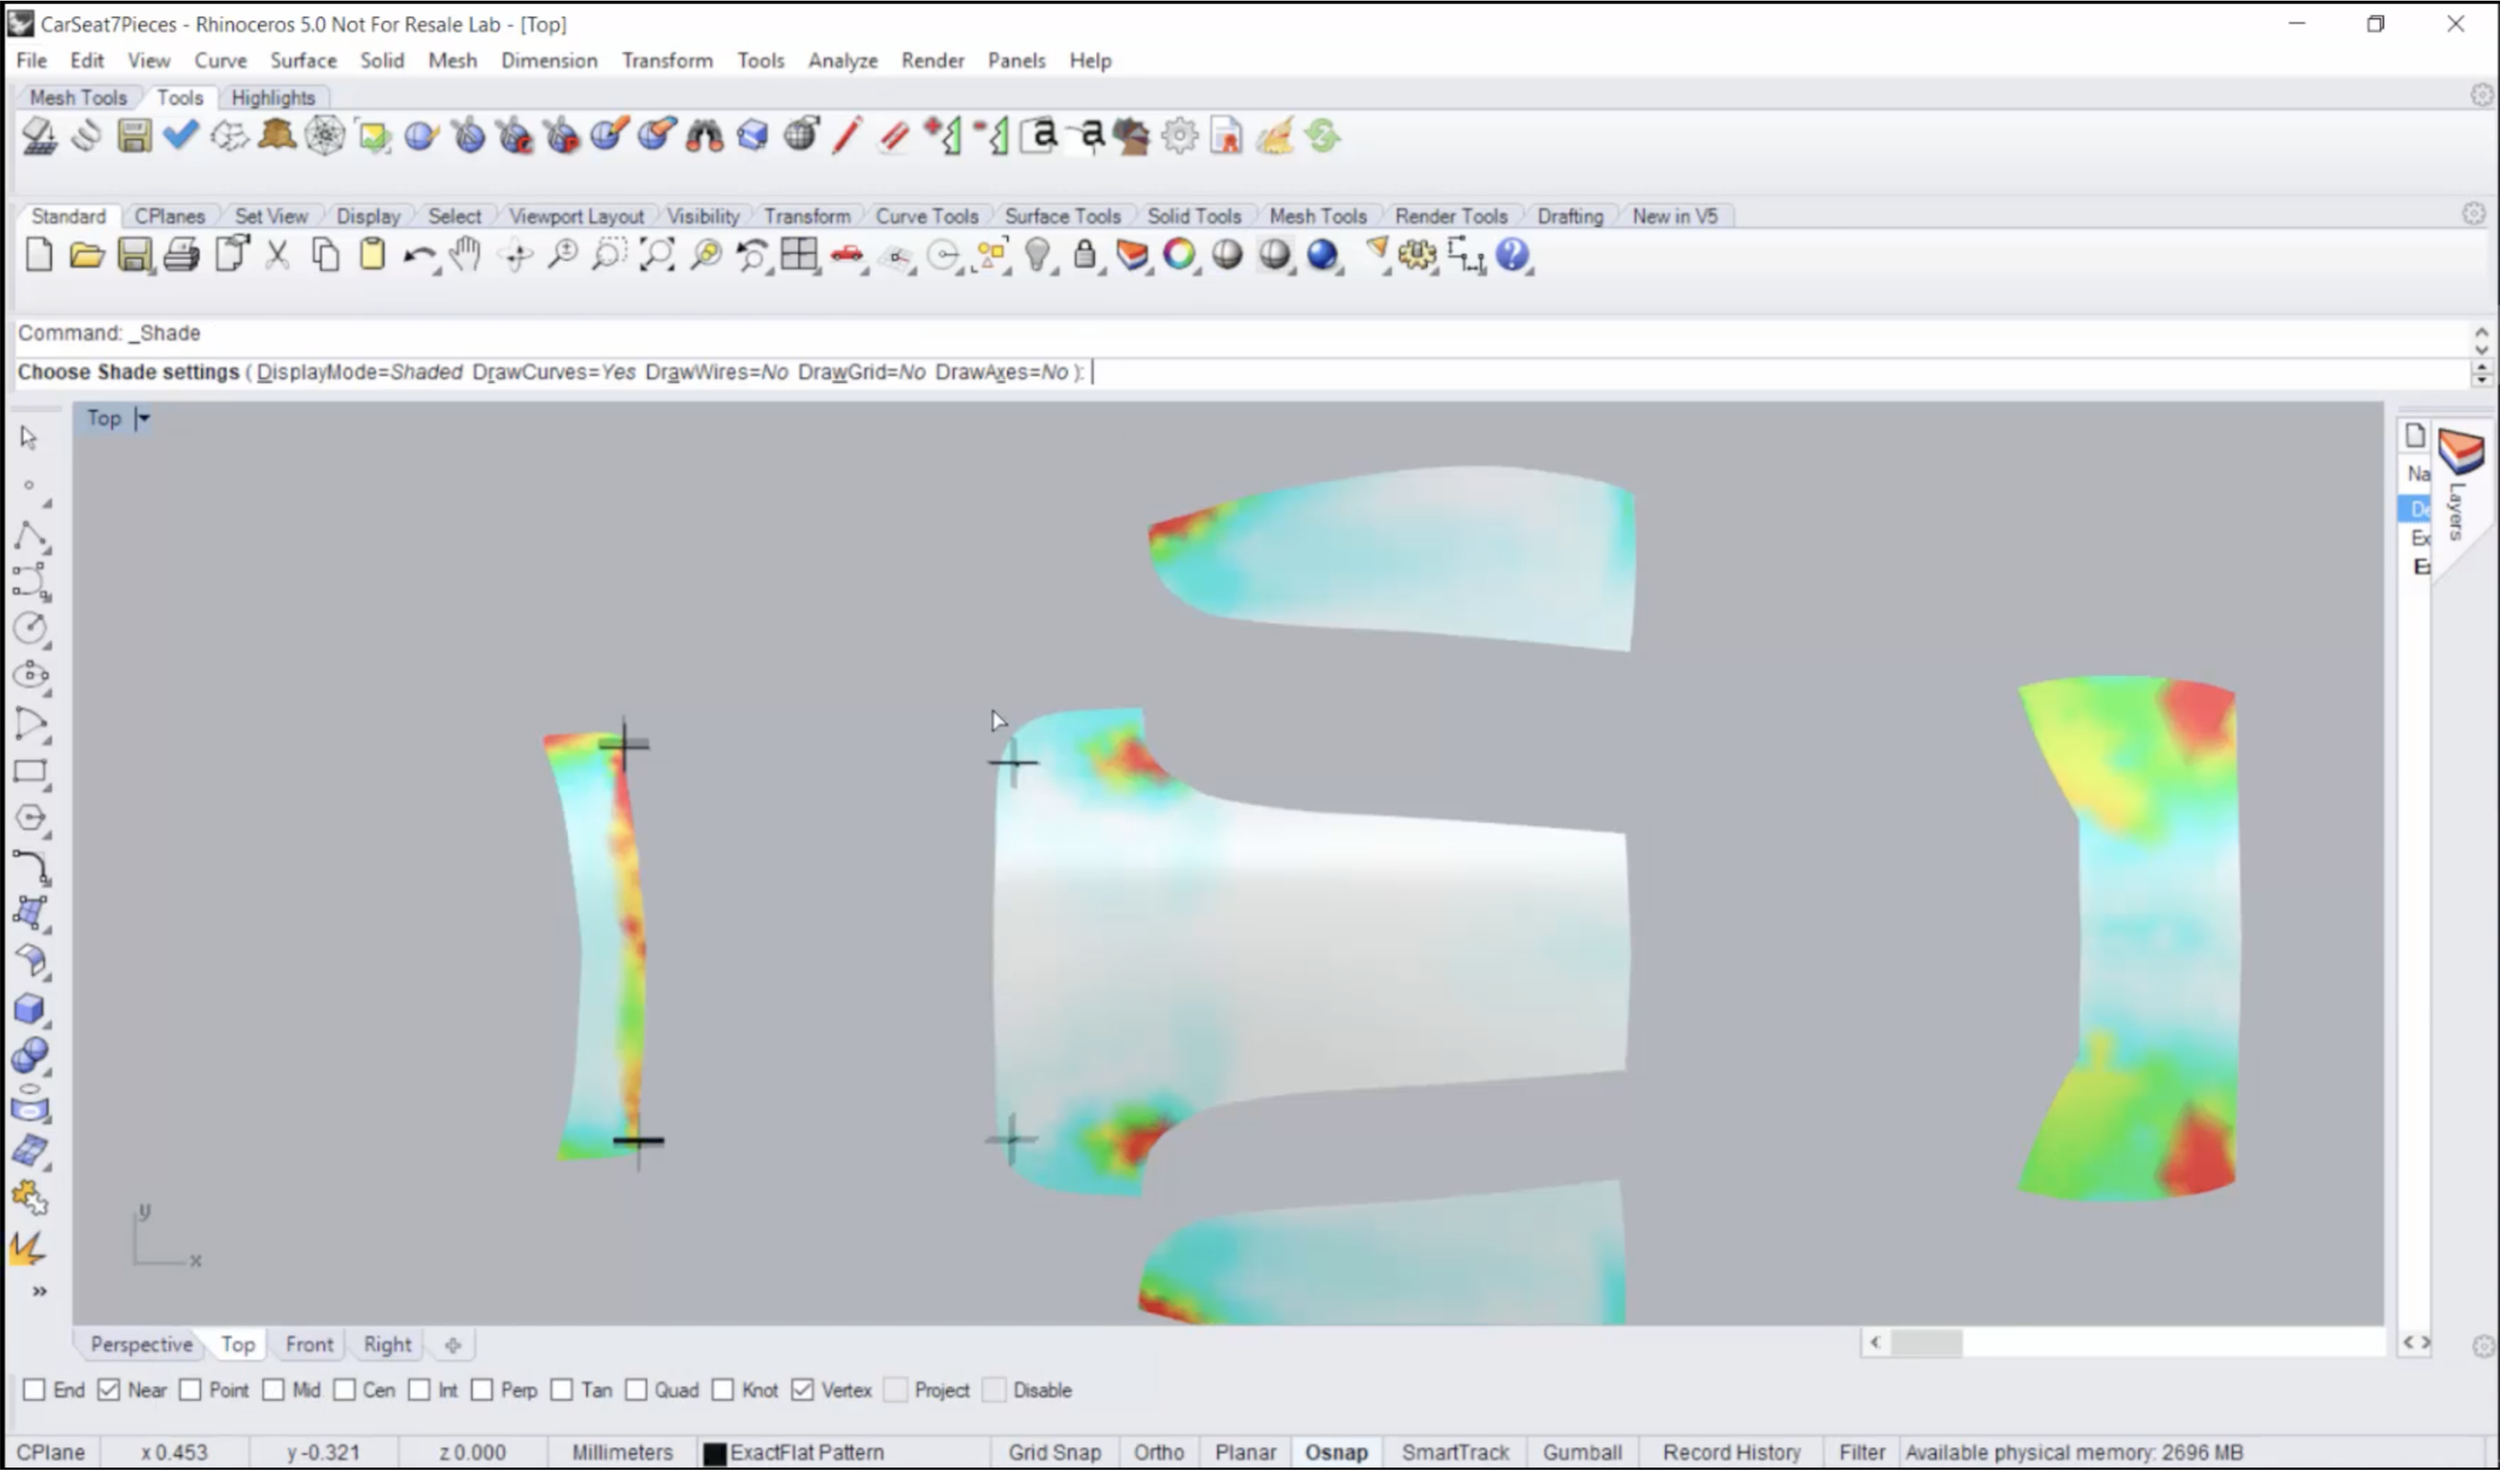
11:02 Stress analysis
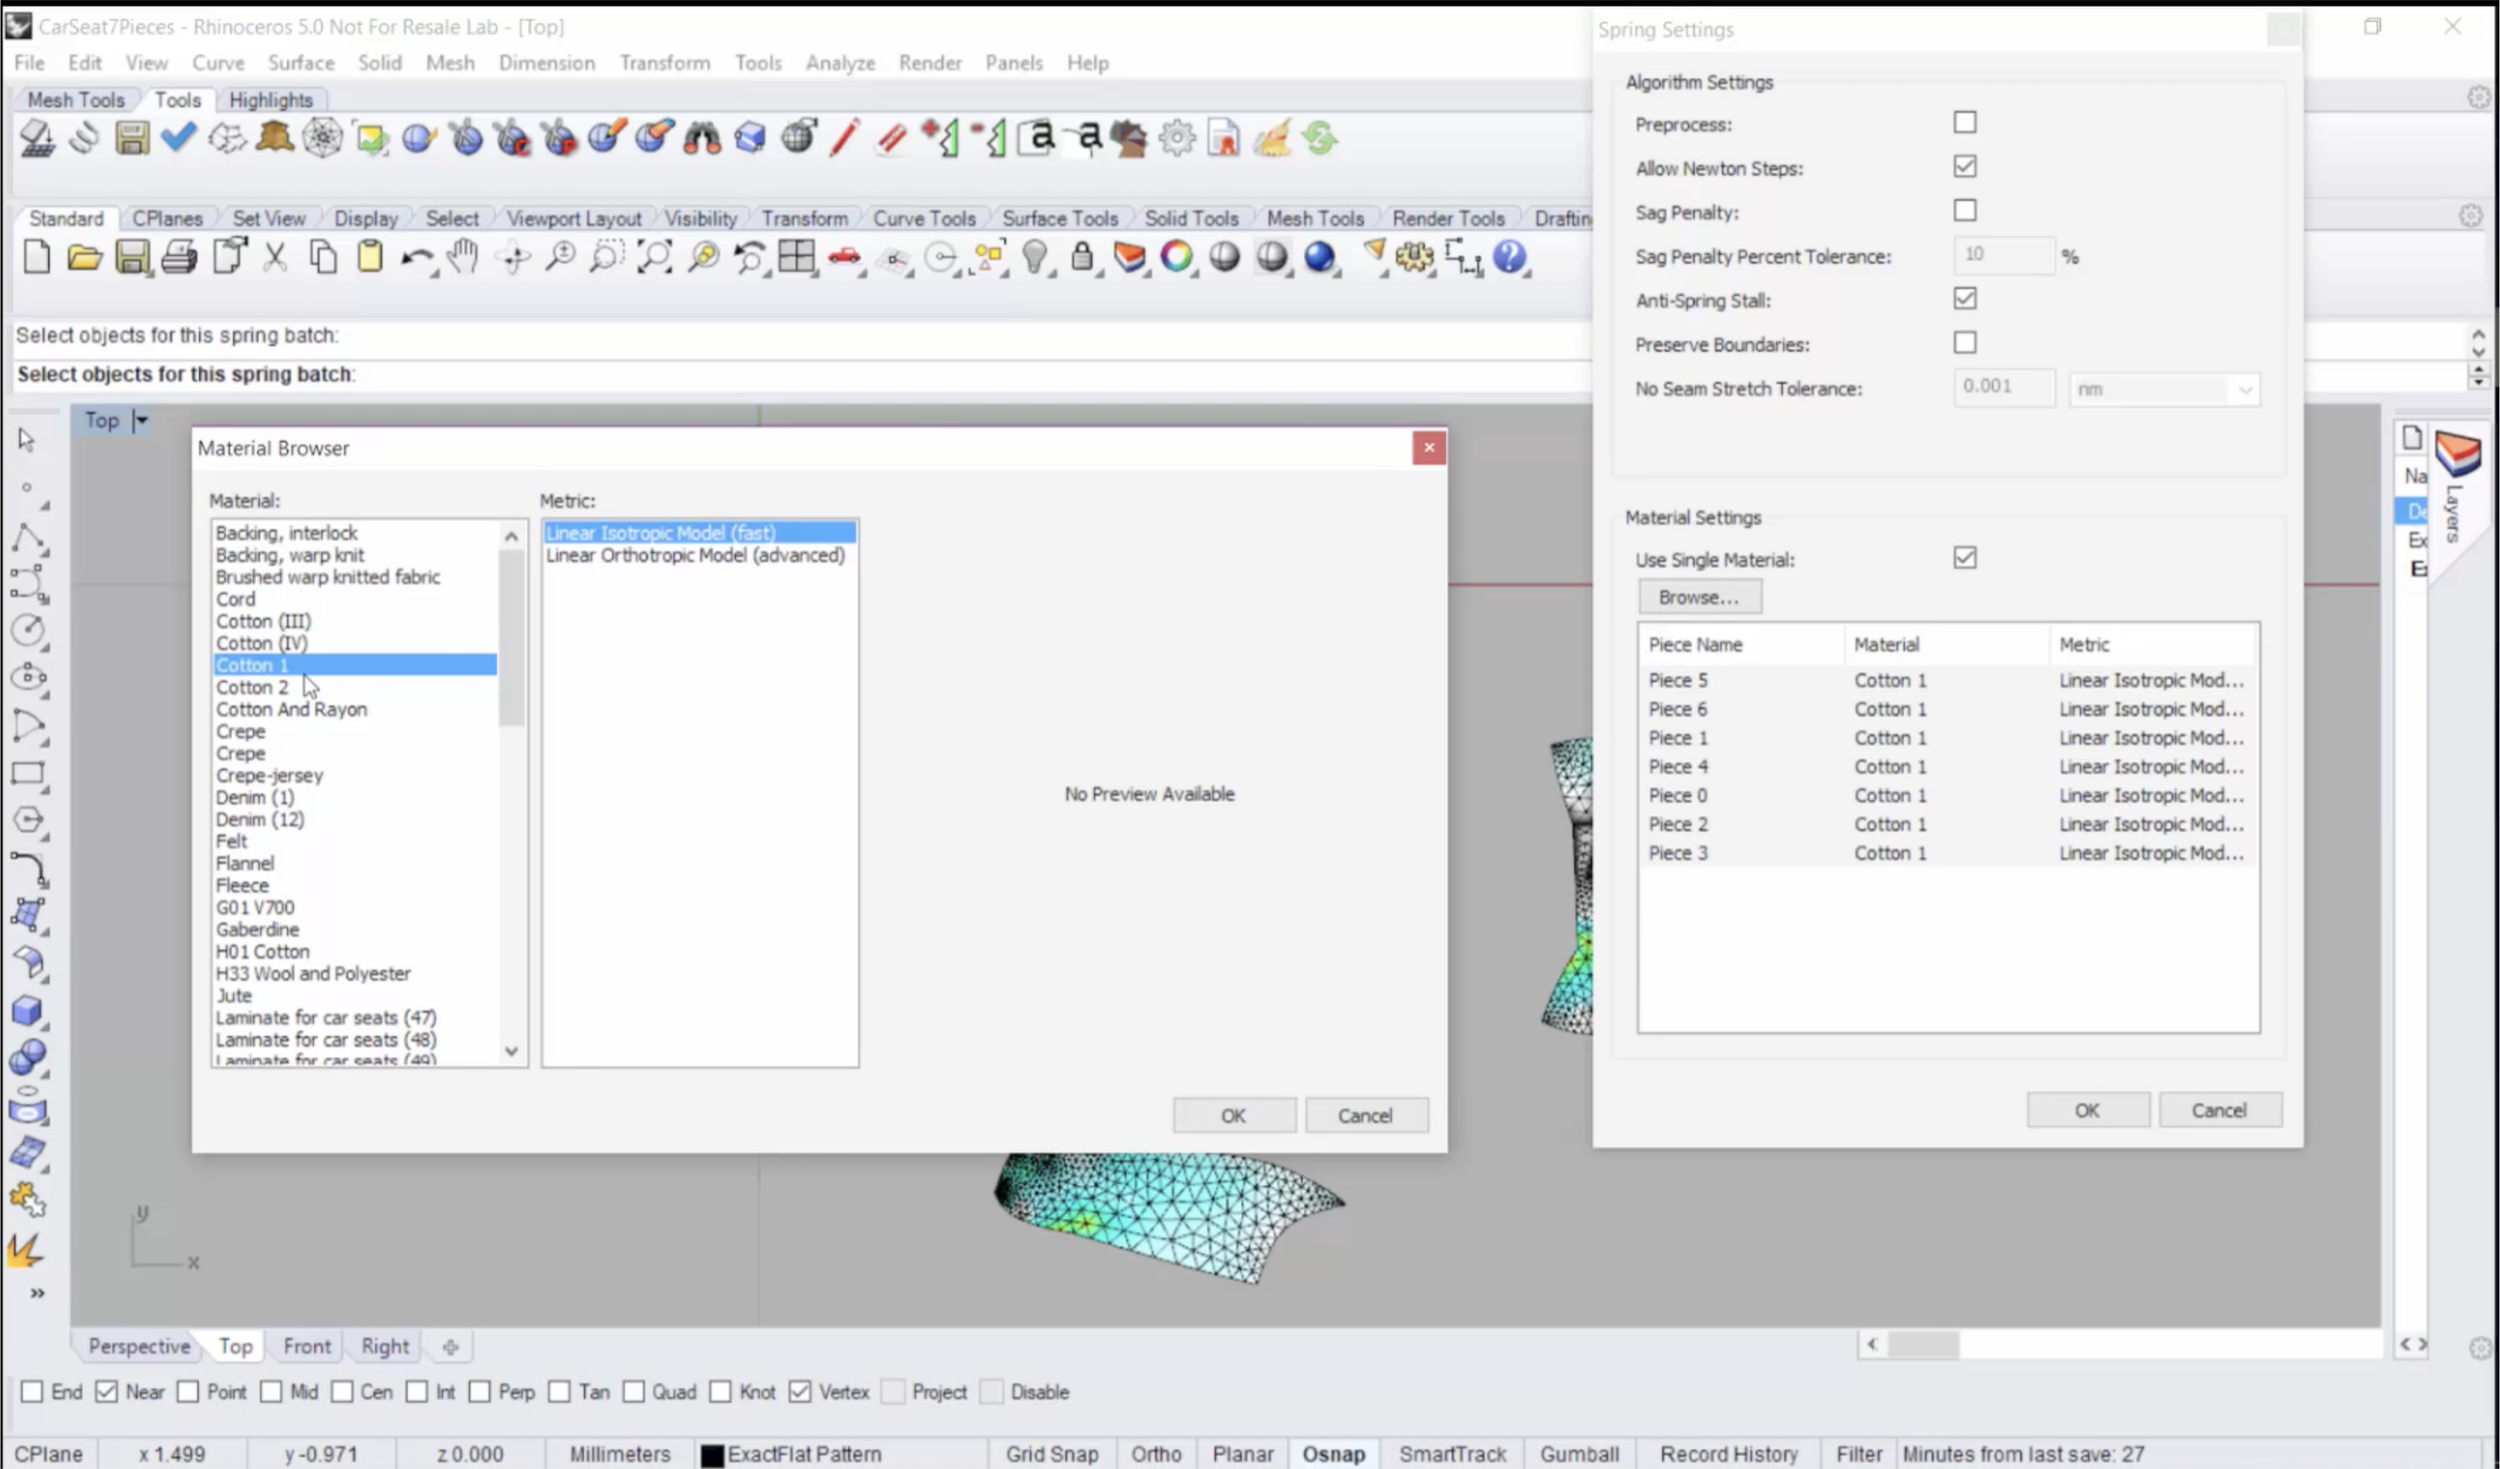
12:05 Preflatteners
14:50 Optimize fit
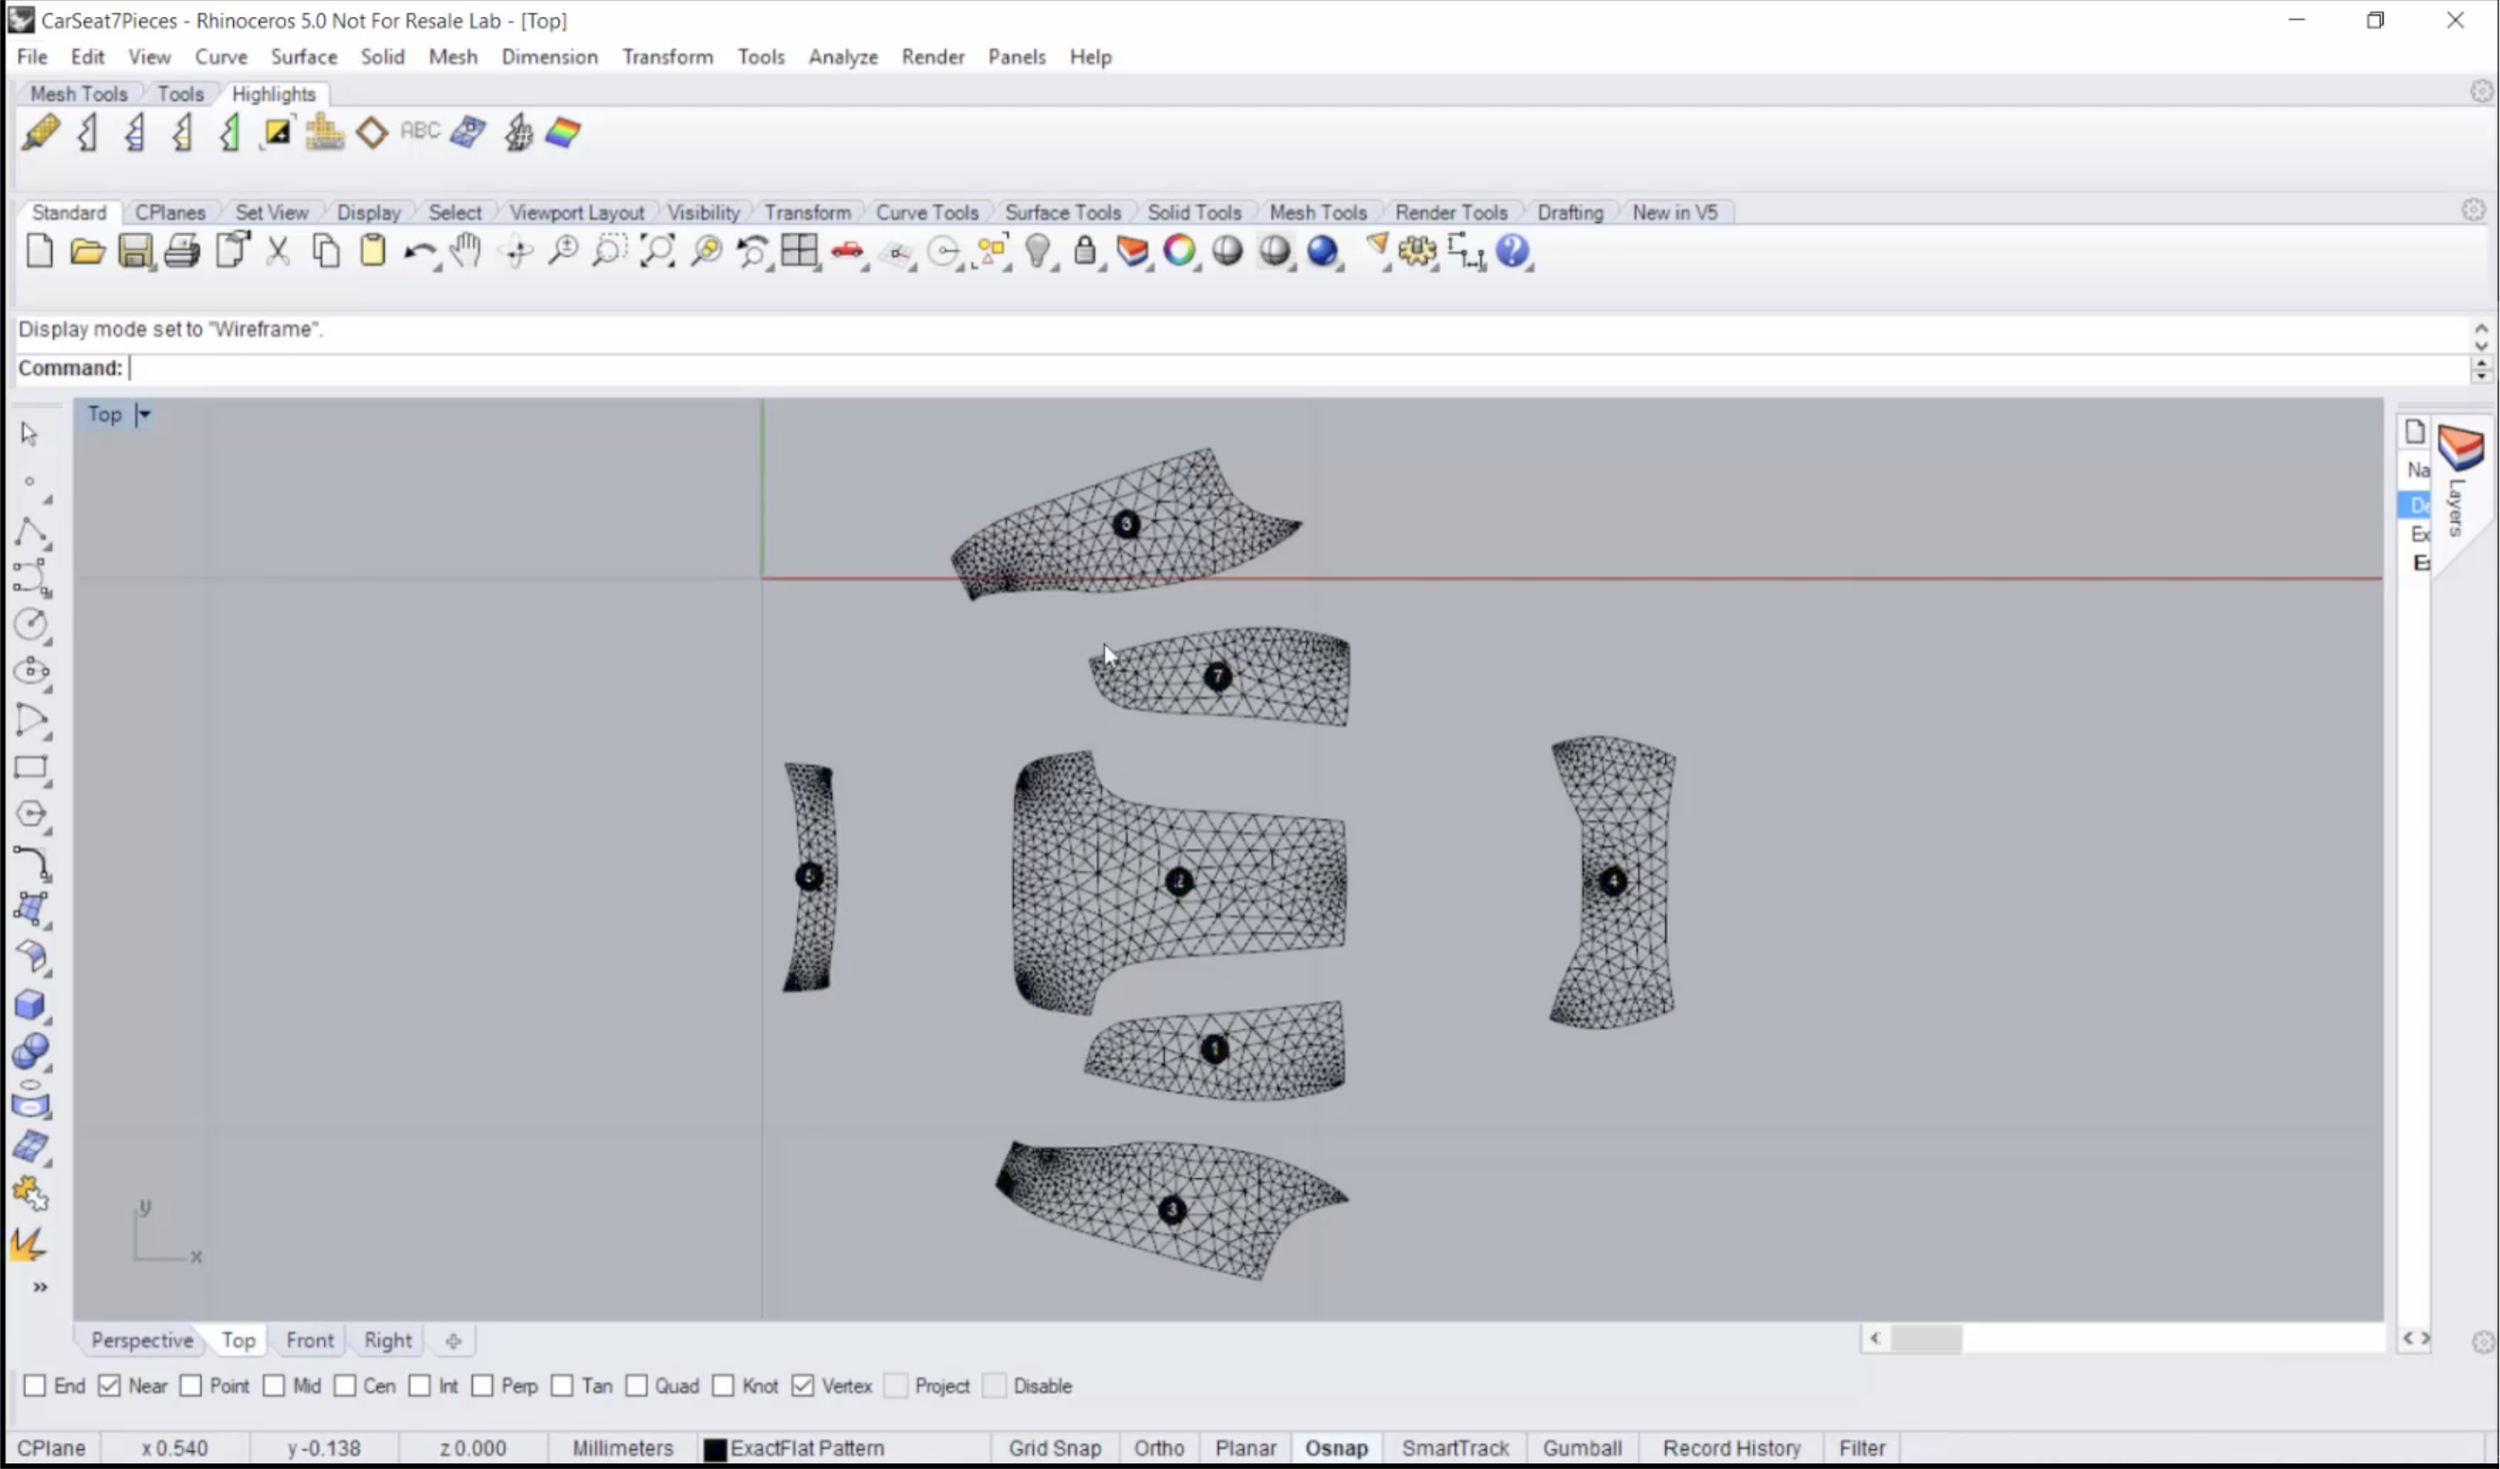
18:12 Highlight tool – piece ID
19:12 Piece Association tool
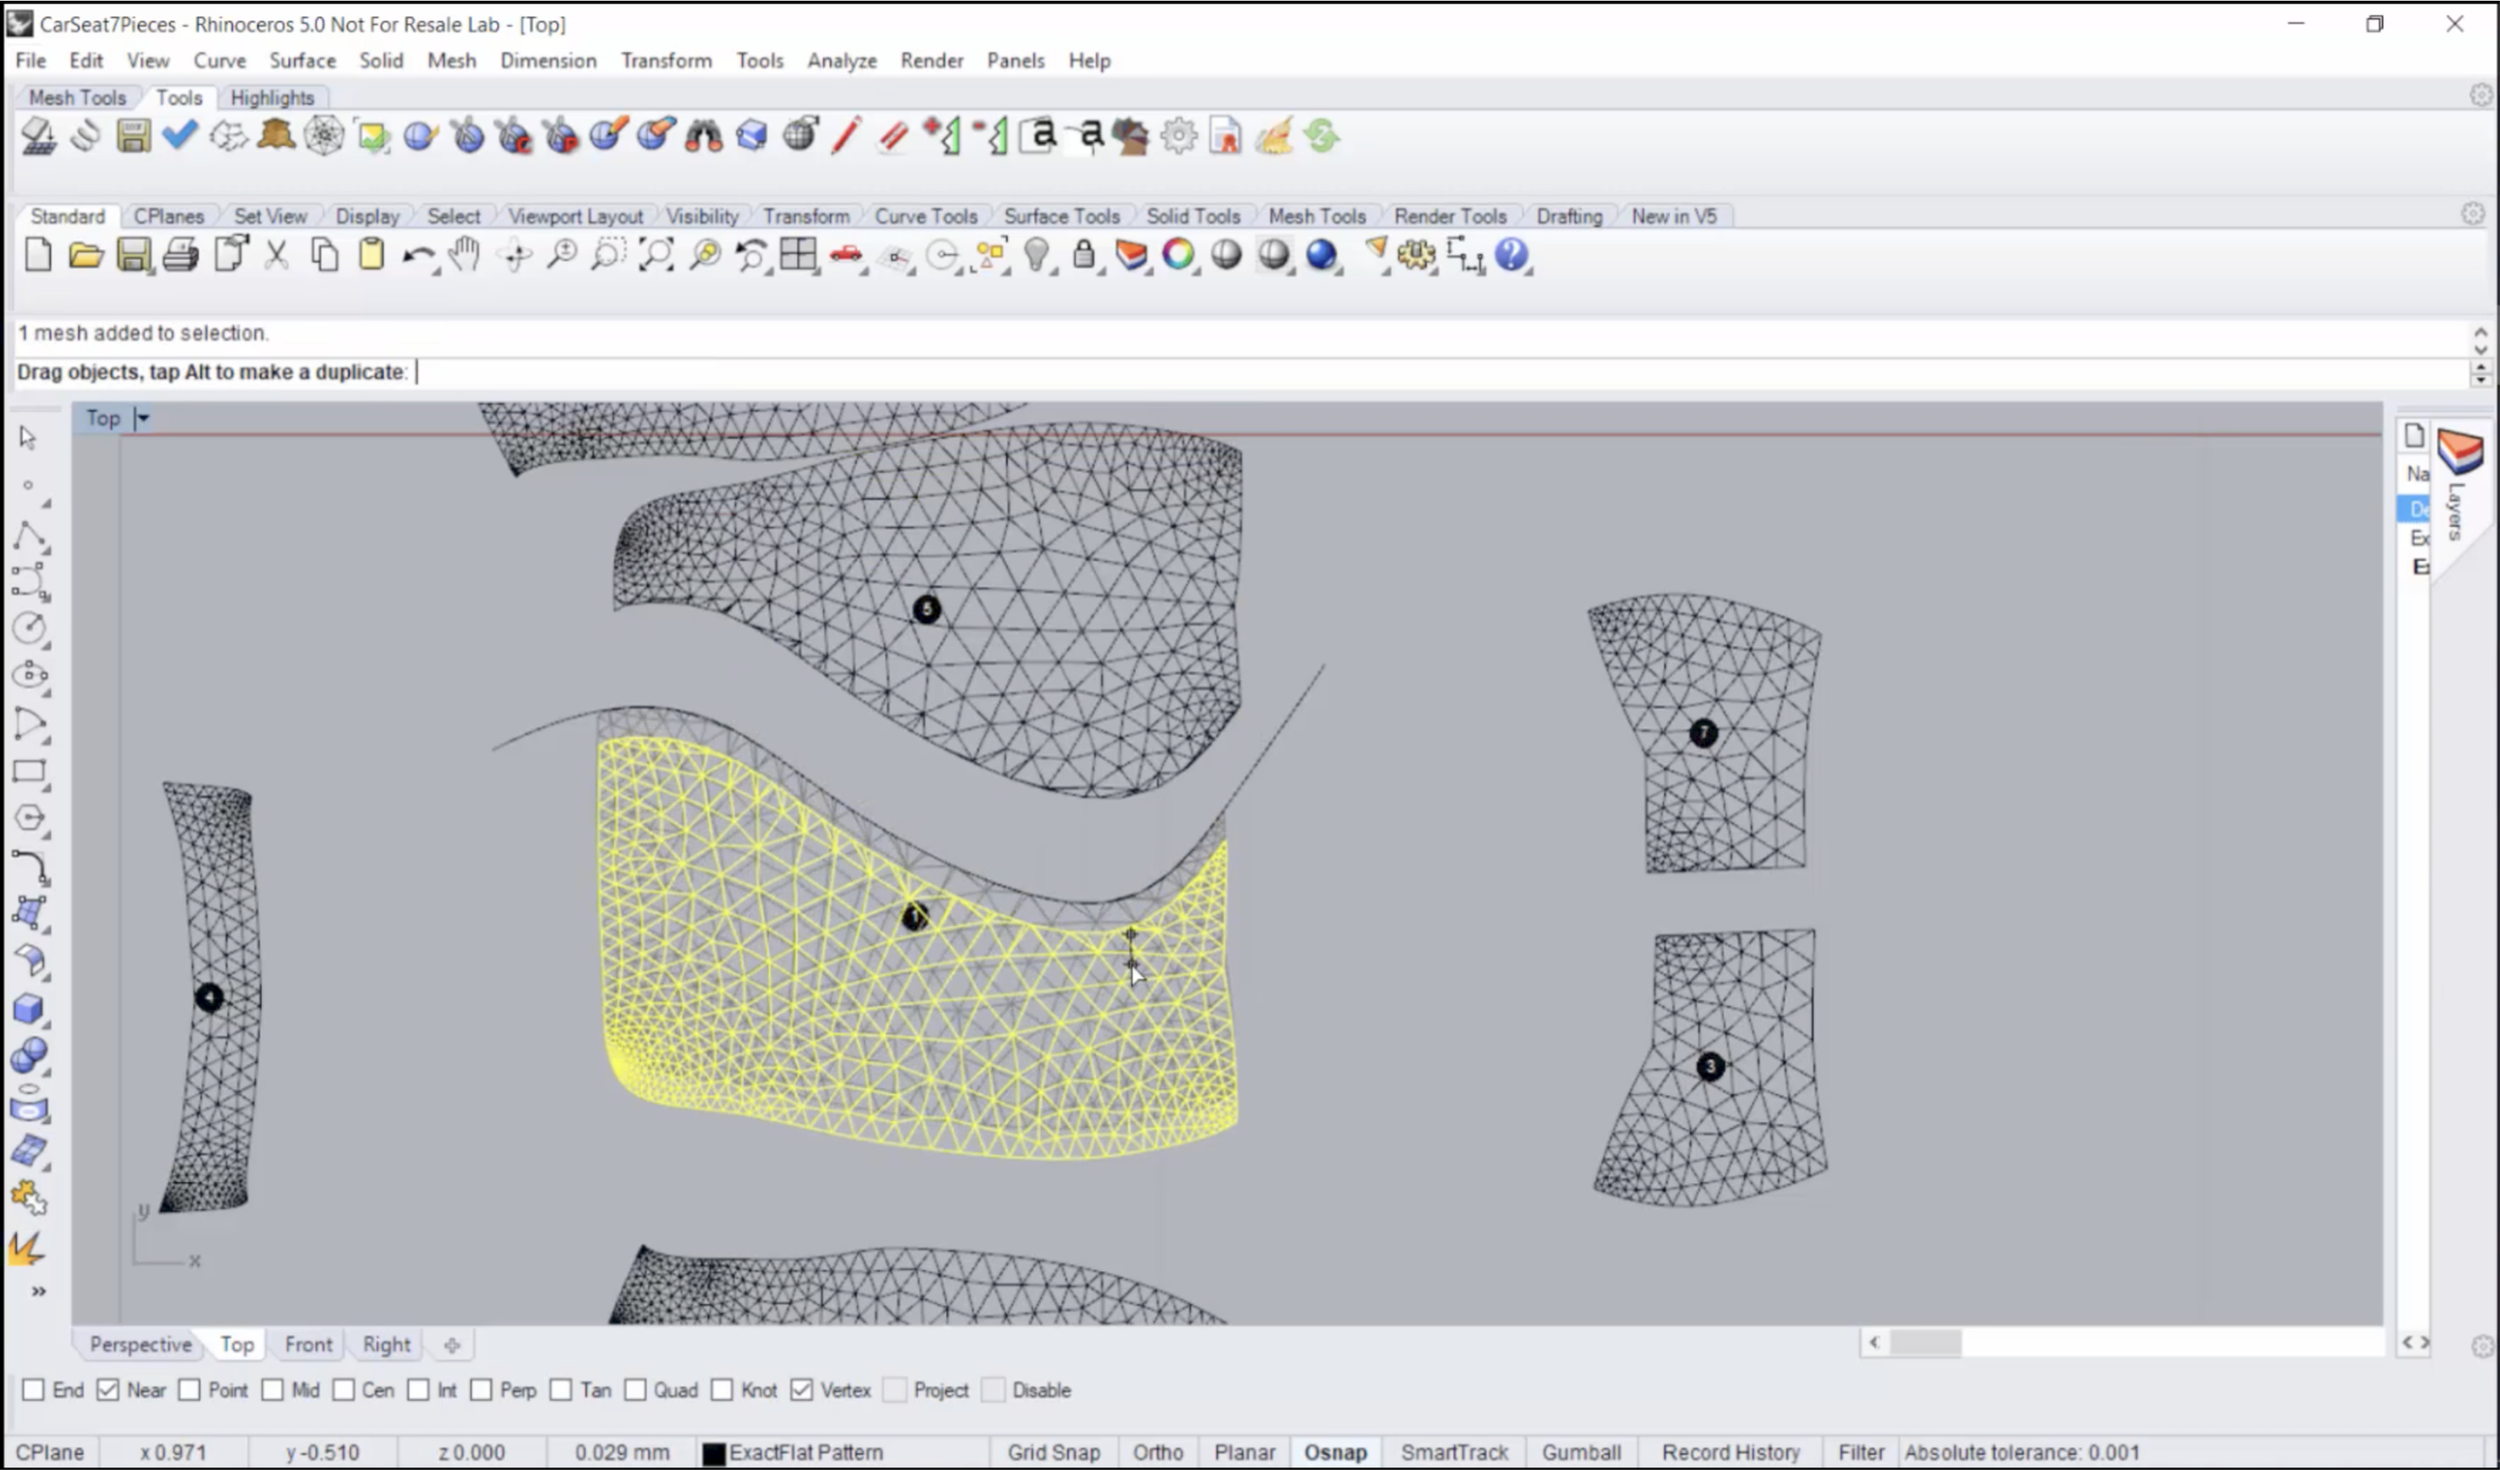
19:40 Join Pieces tool
20:10 Cut Pieces tool
22:20 Add pattern features: seam and notches
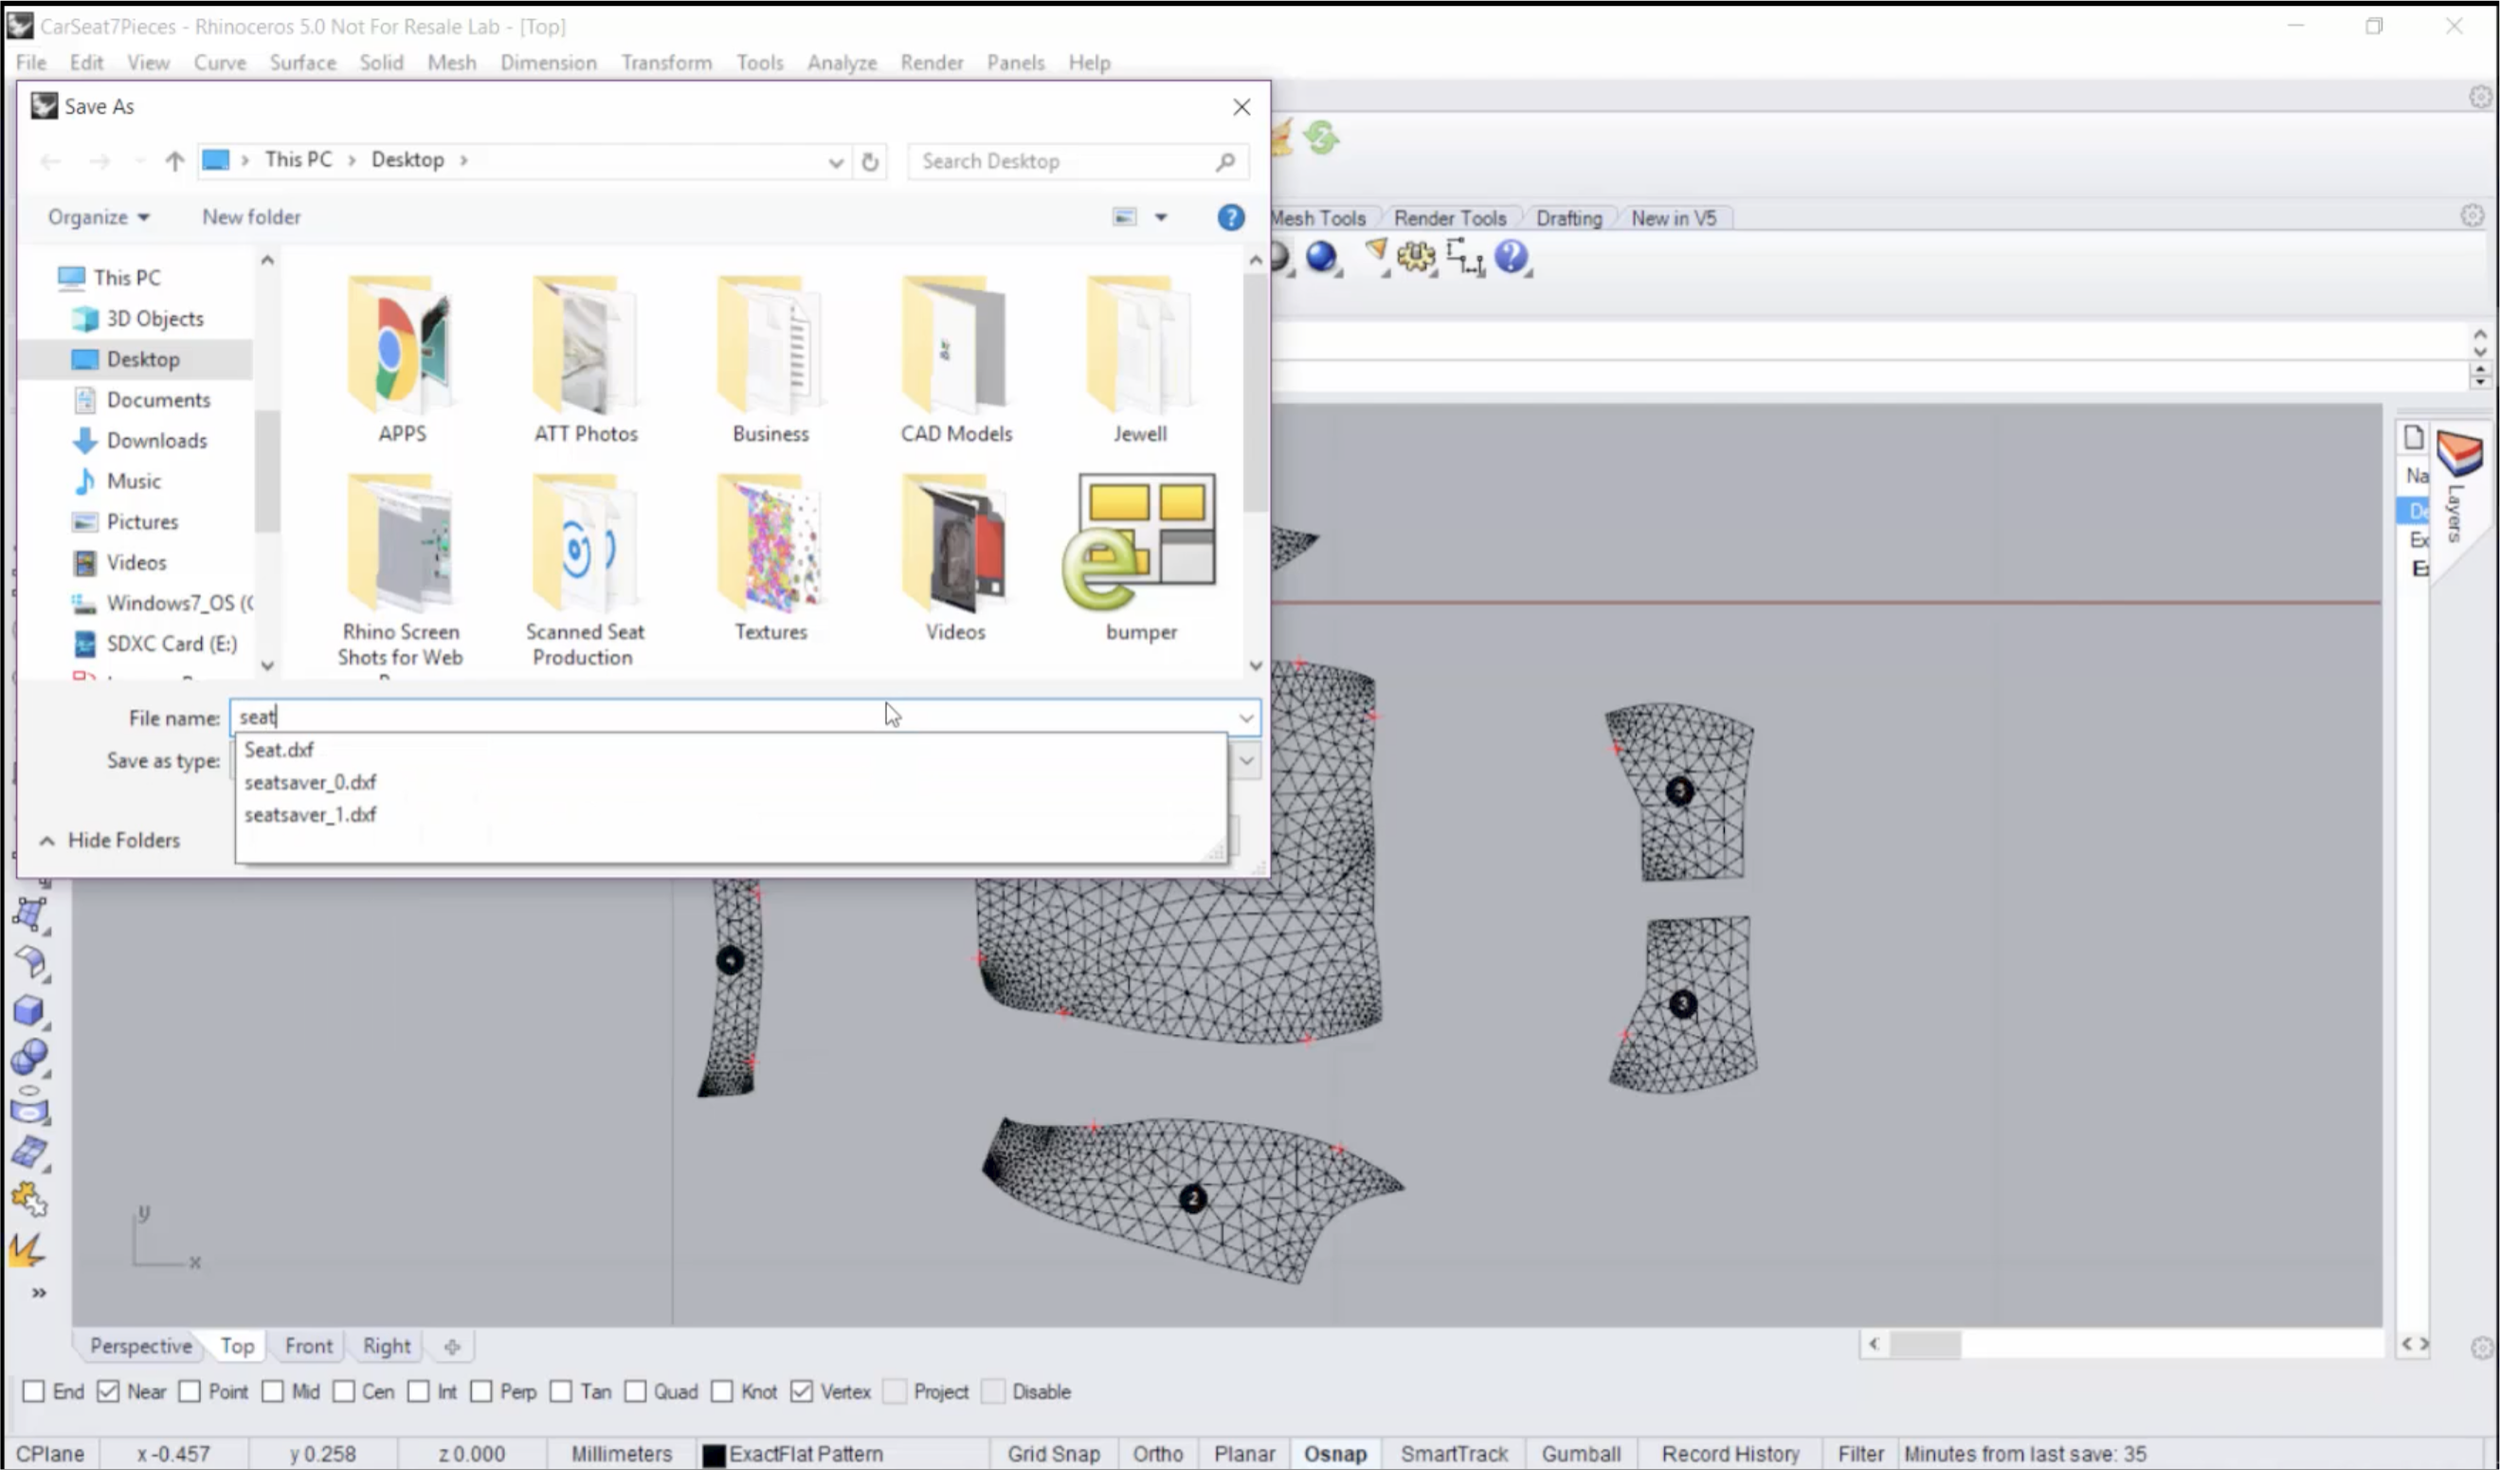
23:23 Create and export the DXF file